Shark robot vacuum troubleshooting
Matrix and self-empty robot vacuums. Start with the exact model, then match the error code, light pattern, voice alert or symptom.
Start Shark robot vacuum troubleshooting with its exact model
Shark uses different model families, app behavior, and alert indicators across its robot vacuums. Read the model from the product label or SharkClean app before choosing a code chart. Then save the exact light combination, voice message, or app wording and note whether the robot stopped during cleaning, failed to return, or reached its base. A single color by itself may not identify the same fault on every model.
The Shark Matrix 2-in-1 model desk follows its own published light chart. Use the Shark error-code index to browse sourced alerts, and open a guide only when its model and symptom match your unit.
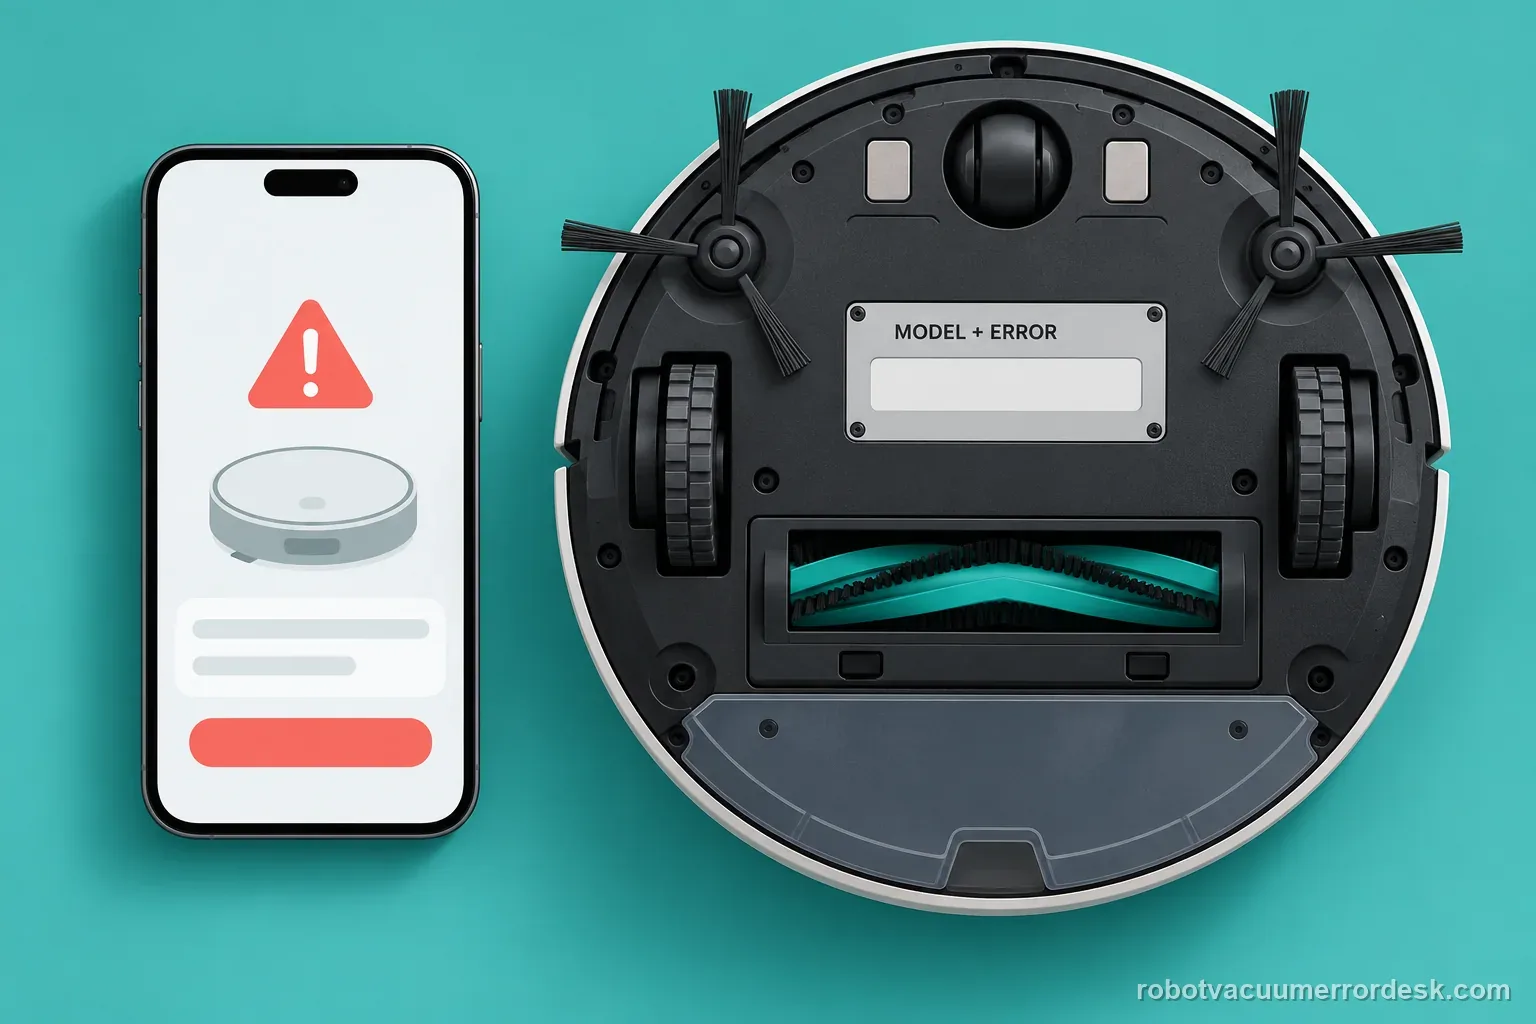
Match the indicator pattern to the same manual
For Shark Matrix 2-in-1 2400-series models, the owner guide distinguishes several error-2 patterns by the CLEAN, DOCK, and exclamation lights. Its table maps one combination to a stuck side brush, another to a stuck drive wheel, and a separate pattern to an encoder fault. These are not interchangeable diagnoses. Confirm the series first, then compare every light that is on or flashing with the manual's diagram.
| What you see | What to verify | Next safe step |
|---|---|---|
| A named light combination | Exact Matrix series and full pattern | Use its manual's matching row |
| A voice or app alert | Full wording and model label | Open that model's support page |
| No code, but a stopped brush | Visible debris around the brush | Power off and inspect accessible parts |
| A repeat wheel or encoder alert | Whether both wheels move freely | Stop if the manual directs service |
Do not convert a code from a different Shark model into a Matrix diagnosis. If the pattern does not match the manual exactly, treat it as unknown and keep the wording, indicator photo, and serial details for support. The Matrix side-brush guide and drive-wheel guide follow separate component paths.
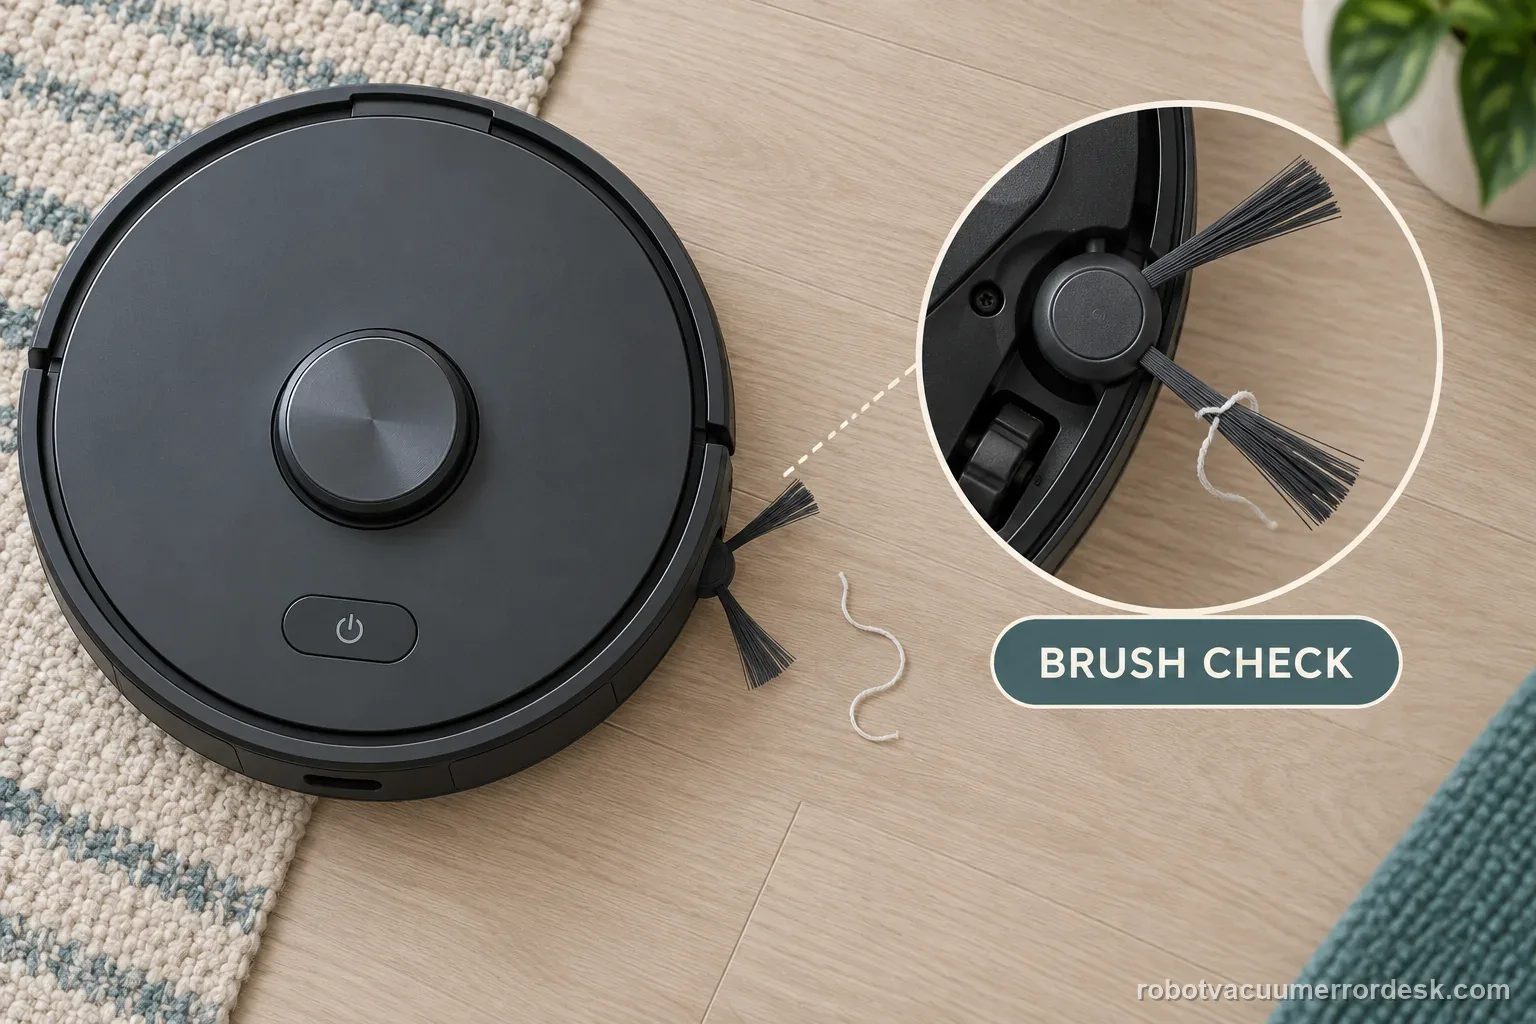
Example: the alert points to a side brush
If the exact Matrix light pattern matches its manual's side-brush row, power the robot off and check for visible debris around that brush. A brush that turns freely after debris is removed is a useful observation; it does not prove that every motor or sensor is healthy. If the manual's next step is service, stop there instead of opening the housing.
Use the symptom to narrow the owner-level inspection
With power off, check only the part named by the matched alert. For a wheel symptom, look for hair or debris around the accessible wheel and axle; do not force a wheel that feels stuck. A normal-looking wheel check cannot rule out an encoder or motor fault. For a brushroll complaint, inspect the removable brush area and cover only as described in the manual. For low suction, start with the removable dust bin and filters the owner guide names. Keep the base and sealed electrical parts closed.
Change one condition at a time and repeat the same short task only if the manual permits it. Record what changed and whether the alert returned. The brushroll blockage guide and suction-fault guide keep those symptoms separate; a blocked brush does not establish a suction-motor failure.
| Observation | What it may help separate | Evidence to save |
|---|---|---|
| Thread around a side brush | Accessible obstruction vs repeat alert | Photo before and after the manual's check |
| Wheel will not turn freely | Debris vs an unresolved drive fault | Exact model and matching light pattern |
| Brushroll is visibly blocked | Removable obstruction vs recurring stop | Alert wording and test result |
| Suction alert remains | Owner filter checks vs service need | Steps completed and support response |
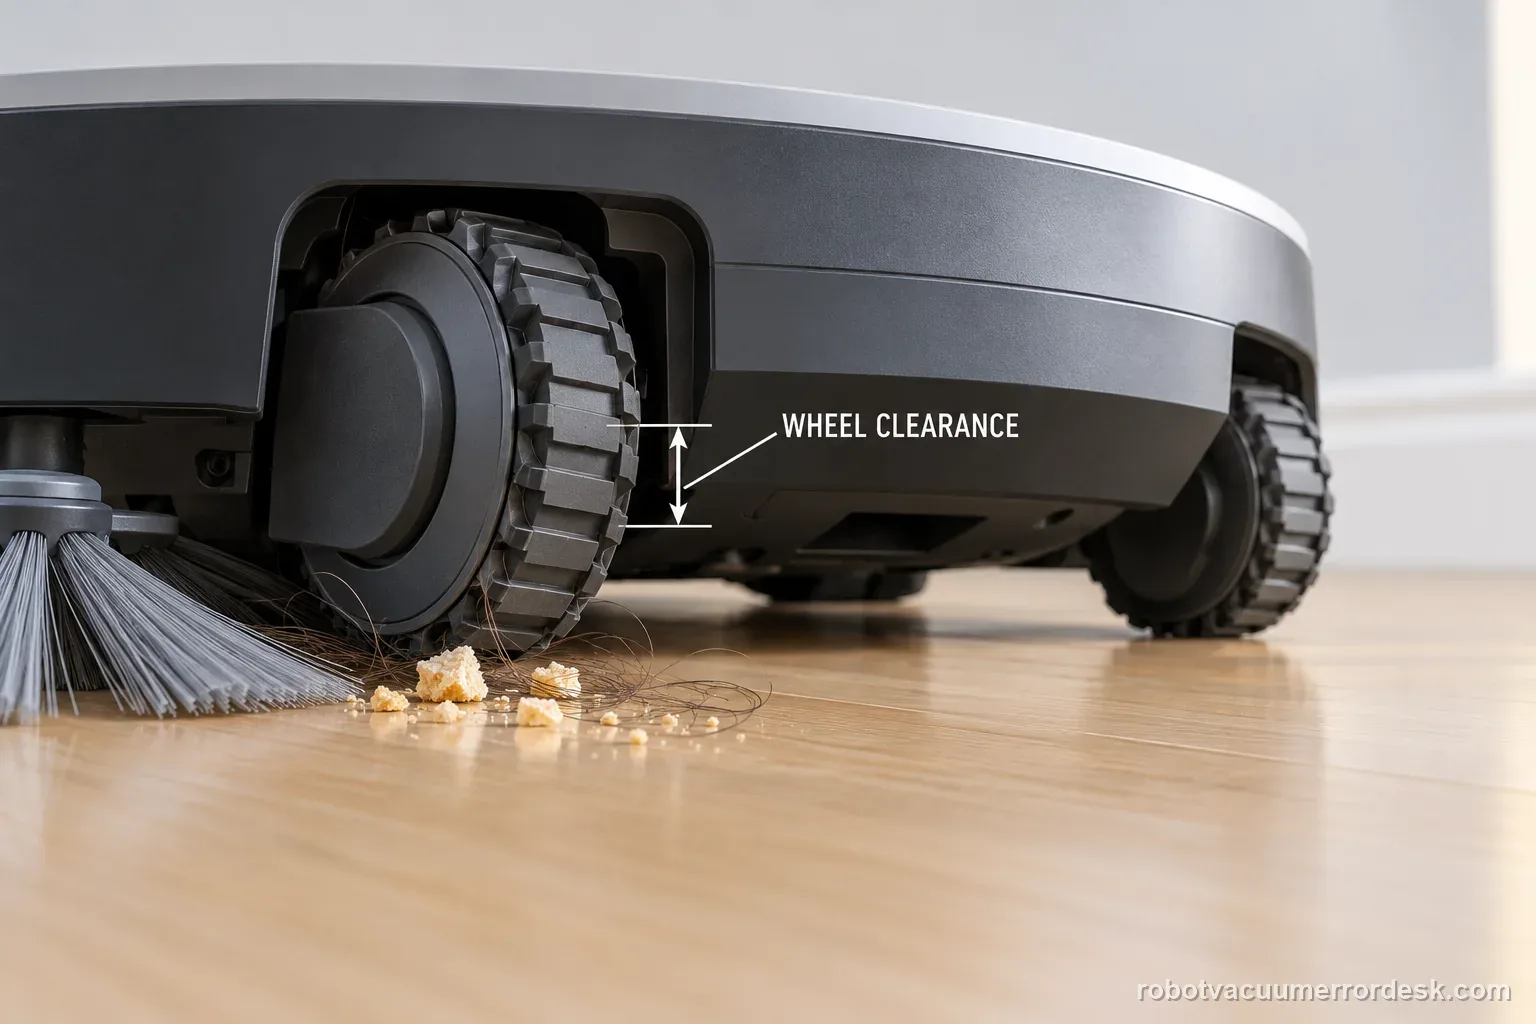
Example: a wheel alert returns after visible debris is cleared
Save the model number and full indicator pattern, then note that the wheel still does not move freely after the permitted check. That repeatable result is more useful than trying unrelated resets. If the code chart calls for customer service, stop the physical checks and provide those details.
Shark Matrix
Light-code, wheel, brushroll and suction diagnostics.
3 live diagnostics →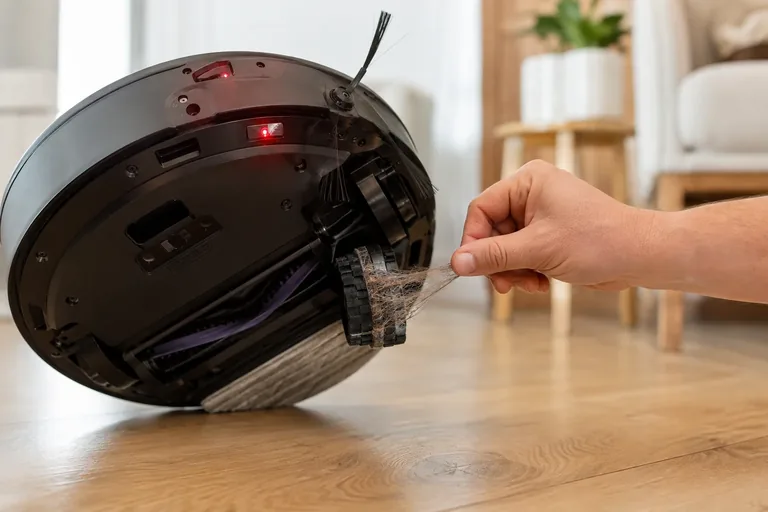
Shark Matrix 2-in-1
Manual-backed LED combinations and component faults.
5 live diagnostics →All Shark diagnostics
8 guidesCLEAN red + DOCK red + ! red
On the Shark Matrix 2-in-1, CLEAN red + DOCK red + ! red flashing means a drive wheel is stuck. Shark's owner manual tells you to clean the wheels and remove debris wrapped around the axles so they can move freely. Power the robot off, compare both drive wheels, remove accessible hair or thread, check that each wheel can compress and return through its normal suspension travel, then move the robot away from thresholds or objects that may have loaded one side. Restart on flat hard flooring. If the code clears, the original stop was consistent with a jam or external load. If one wheel still binds with no visible debris, or the same red/red/red pattern immediately returns on open flooring, stop forcing the mechanism and contact Shark.
DOCK red + ! red
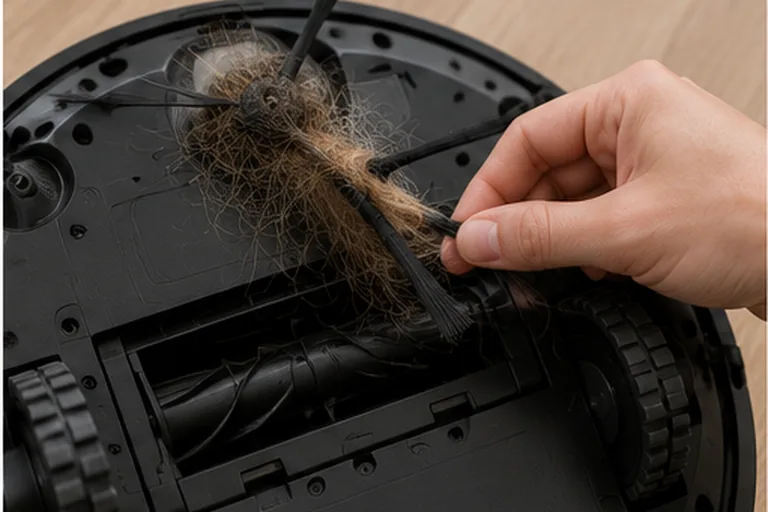
On the Shark Matrix Plus/2-in-1 chart, flashing red DOCK + red ! means the side brush is stuck. Power off, clear hair from around and beneath the hub, wipe the brush dry, reseat it, and turn it by hand. Replace a bent brush. If the code returns on open flooring with a clean, free brush, stop and contact Shark.
CLEAN white + ! red
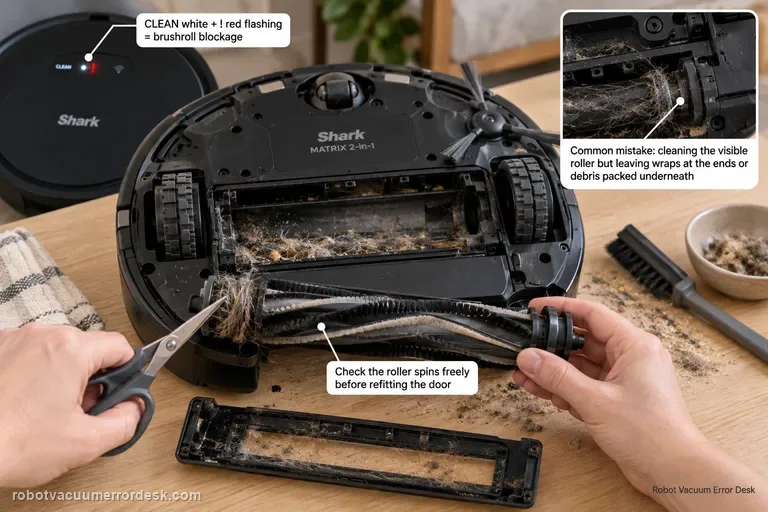
On the Shark Matrix 2-in-1, CLEAN white + ! red flashing is the brushroll-blockage pattern. Power the robot off, remove the owner-serviceable brushroll and door, cut or pull away hair and thread from the roller and end areas, clear debris from the chamber, then make sure the brushroll can move normally before reinstalling the door. A common diagnostic mistake is to clean the visible roller surface but leave wrapped material at an end or packed debris under the roller. After reassembly, test on open hard flooring. If the roller is mechanically free, the door is fully latched and the same white/red pattern returns immediately, stop forcing the brushroll and contact Shark for the drive/service path.
CLEAN green + DOCK green + ! red
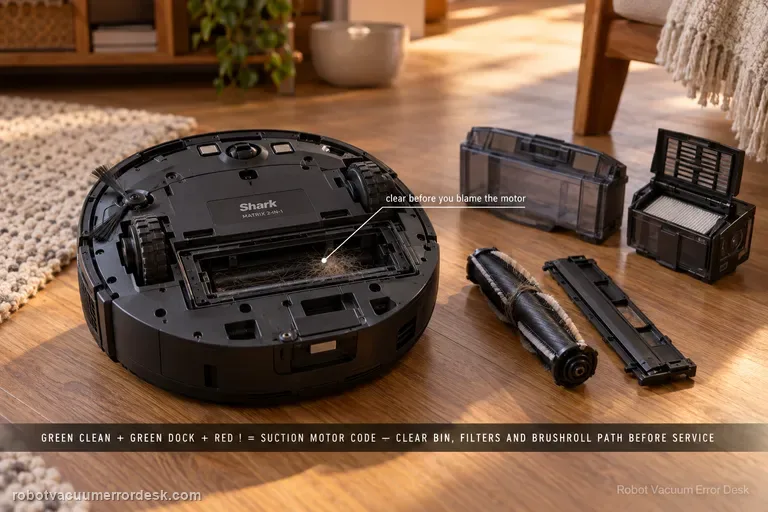
The Shark Matrix 2-in-1 manual maps CLEAN green + DOCK green + ! red flashing together to suction motor failure, but Shark's first remedy is an airflow-path cleanup: empty the dust bin, clean the filters, remove the brushroll and brushroll door, and clear blockages. Follow that order before concluding the motor itself is defective. A loaded filter or packed inlet can make the suction system work abnormally even though the LED chart uses a motor-oriented label. After maintenance, reinstall every airflow component correctly and run a short hard-floor test. If the same green/green/red pattern returns with a clean bin, serviced filters and clear brushroll chamber, stop opening more parts and contact Shark.
Won't dock
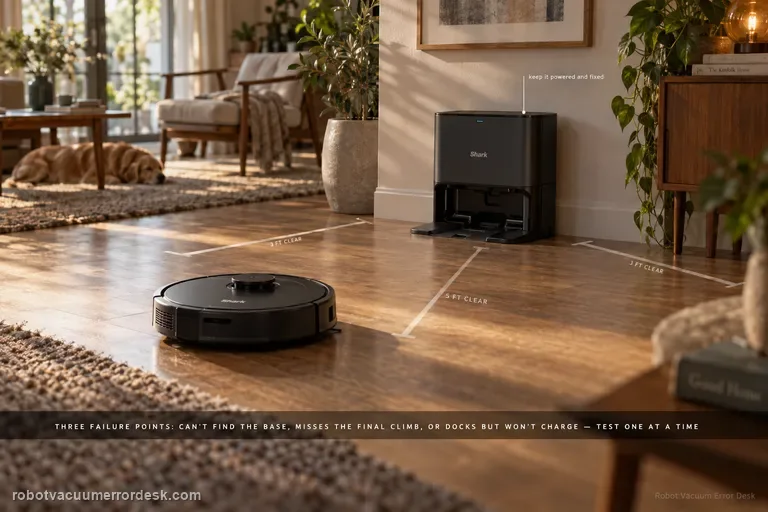
A Shark Matrix that 'won't dock' can fail at three different stages: it may not find the Self-Empty Base at all, it may find the base but miss the final climb/alignment, or it may park correctly and still fail to charge. The RV2300-series manual gives Error 23 for the first case. Start by proving base power and restoring about 3 ft of side clearance and 5 ft in front, keep the base fixed, then run a short Dock test. If the robot reaches the base, inspect wheel movement and dry-clean contacts before blaming navigation. If it docks squarely but does not charge, use the charging guide. This staged approach prevents remapping a robot whose actual problem is contact alignment or battery charging.
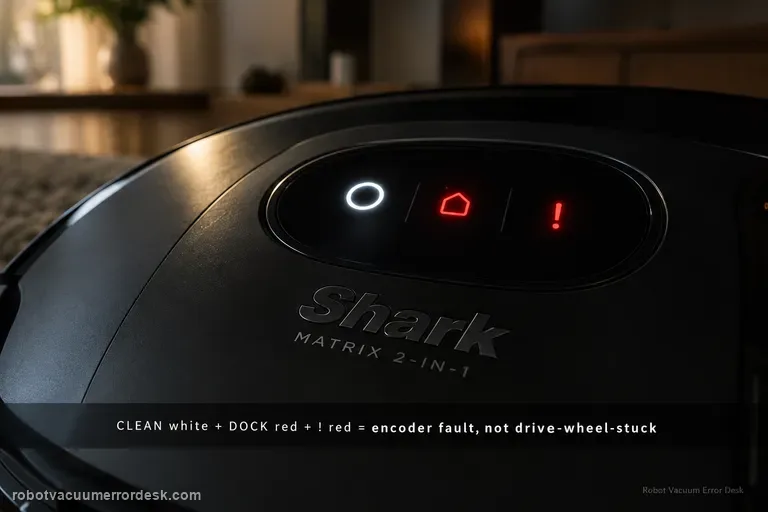
CLEAN white + DOCK red + ! red
On the Shark Matrix 2-in-1, CLEAN white + DOCK red + ! red flashing is the wheel motor encoder failure pattern. That is deliberately different from the drive-wheel-stuck pattern, which uses CLEAN red + DOCK red + ! red. Use that distinction before cleaning anything. With power off, compare the two drive wheels for obvious external hair, trapped debris, unequal spring travel or one wheel that will not turn normally. If the wheels are externally clear and move similarly yet the encoder pattern returns on a level open-floor restart, the owner manual does not give an internal encoder repair; it directs you to Shark Customer Service. Treat the external wheel check as a way to rule out a simple bind, not as permission to open the drive module.
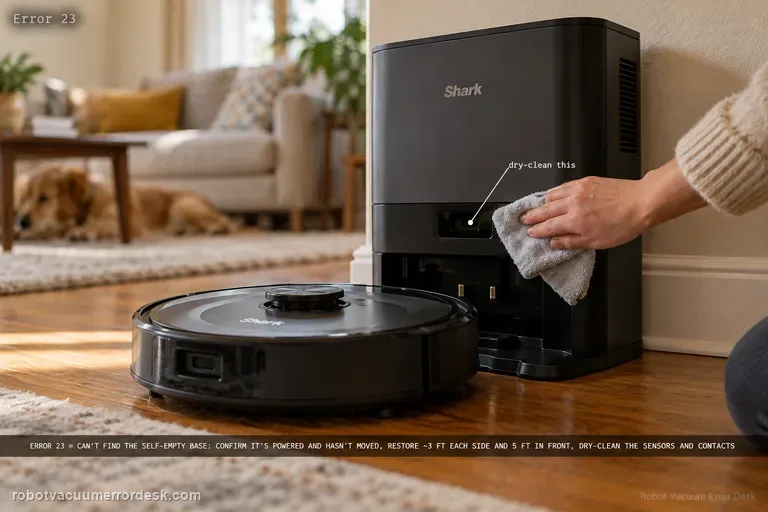
Error 23
On the RV2300-series Shark Matrix, Error 23 means the robot cannot find the Self-Empty Base. Treat that as a localization/base-acquisition problem before treating it as a battery problem. Confirm the base is powered and has not moved, restore the owner-guide clearance of roughly 3 ft (1 m) on each side and 5 ft (1.5 m) in front, clear the approach, dry-clean sensors and charging contacts, and make sure the wheels are not dragging. Then place the robot a short distance directly in front of the powered base and command Dock. If that short test passes, long-route mapping or base permanence is the stronger suspect. If it fails with the base clearly powered and visible, the base-detection path is ready for Shark support.
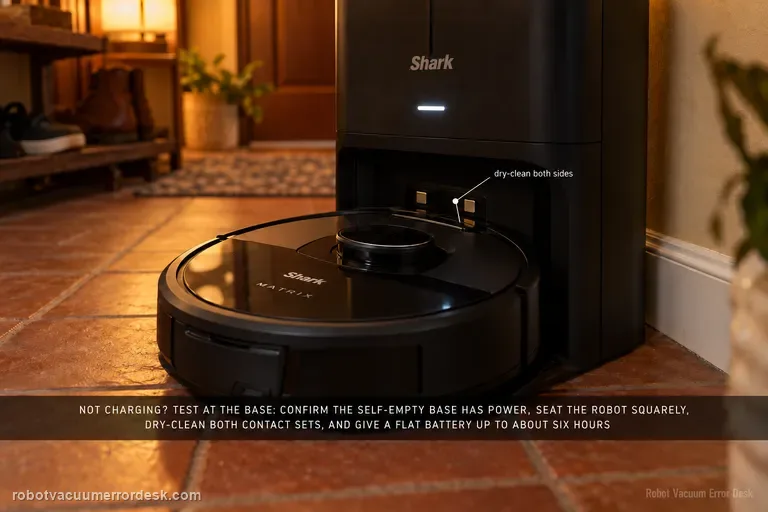
Not charging
A Shark Matrix that will not charge should be tested at the base before you blame the battery. The RV2300-series owner guide distinguishes the base's powered/not-charging state from its charging state and describes the robot's charging indicators. Confirm the Self-Empty Base has power, manually seat the robot squarely, dry-clean the charging contacts on both sides, and allow a very low battery enough time to recover; the guide notes that a full charge can take up to about six hours. If the robot charges only after repositioning, treat alignment and docking as the stronger issue. If the base is powered and the robot never acknowledges charge even when hand-seated, charging hardware or battery service becomes more credible.
Send Shark a concise, model-matched support record
Include the model label, full alert or light pattern, the task stage, and the result of the single owner-level check you ran. Attach a short clip only if it captures the repeating symptom clearly. Avoid opening the robot, probing electrical parts, or repeating a reset that the matching manual does not request.
Shark's Matrix 2-in-1 2400-series owner guide explains its model-specific indicator combinations. For other Matrix models, use the matching Shark manual and support library. The support handoff builder helps organize the alert, test, and result.
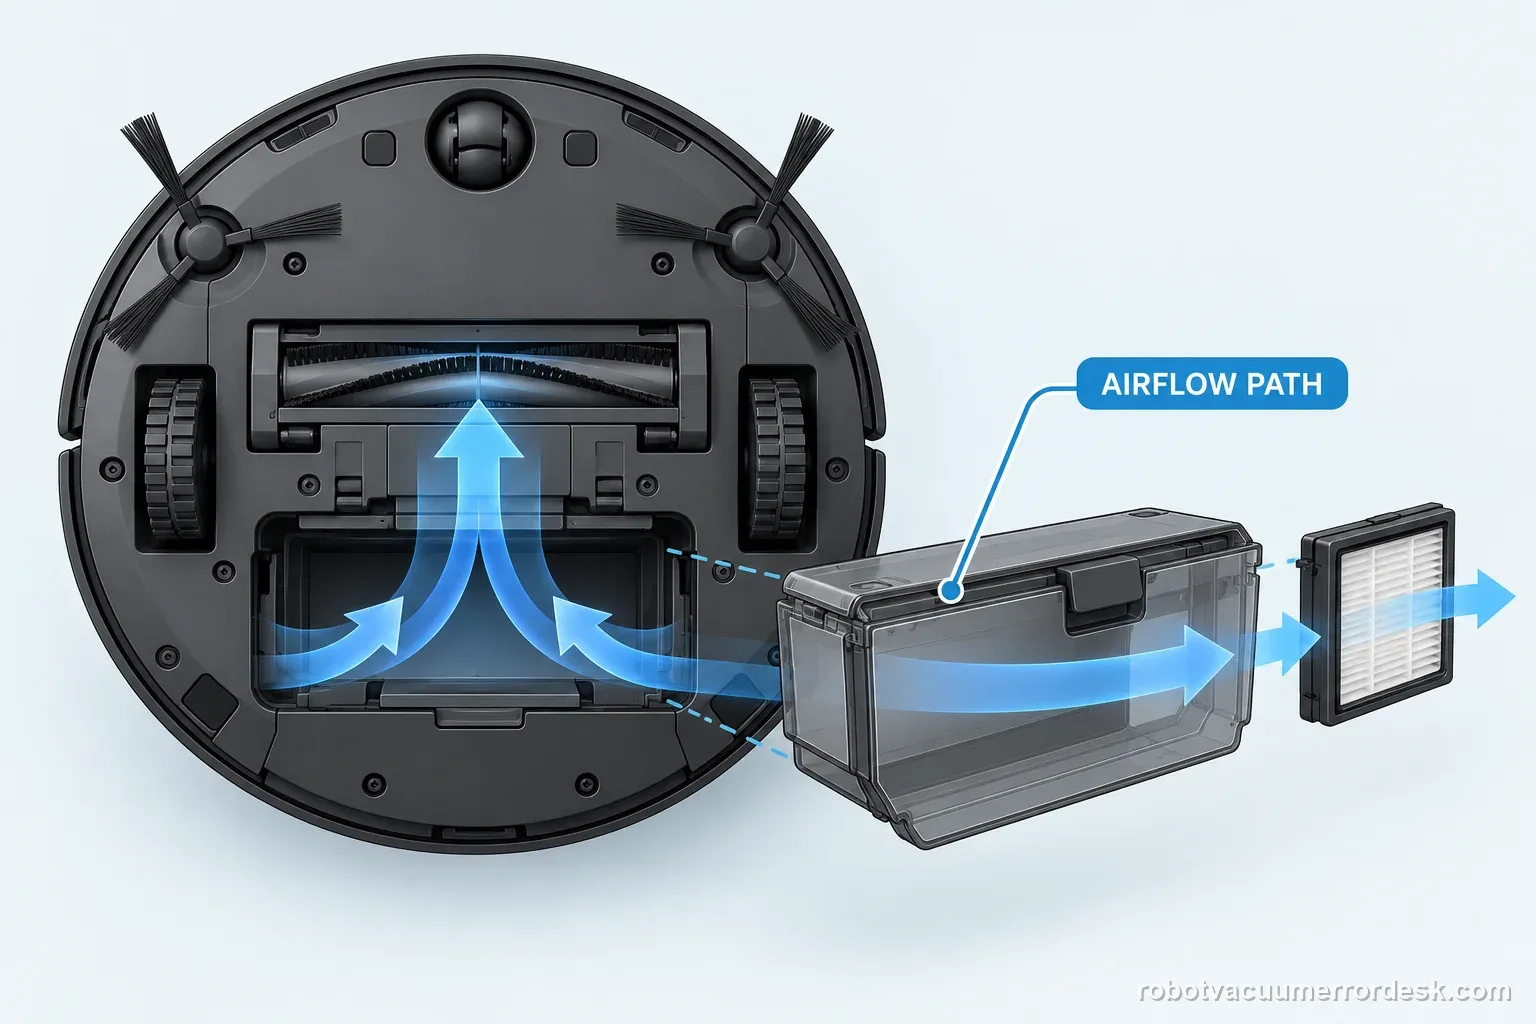
If an alert persists, mention what you did not change as well as what you checked. That keeps support from mistaking an unchanged condition for a proven fix. Use the same model and manual throughout the conversation.