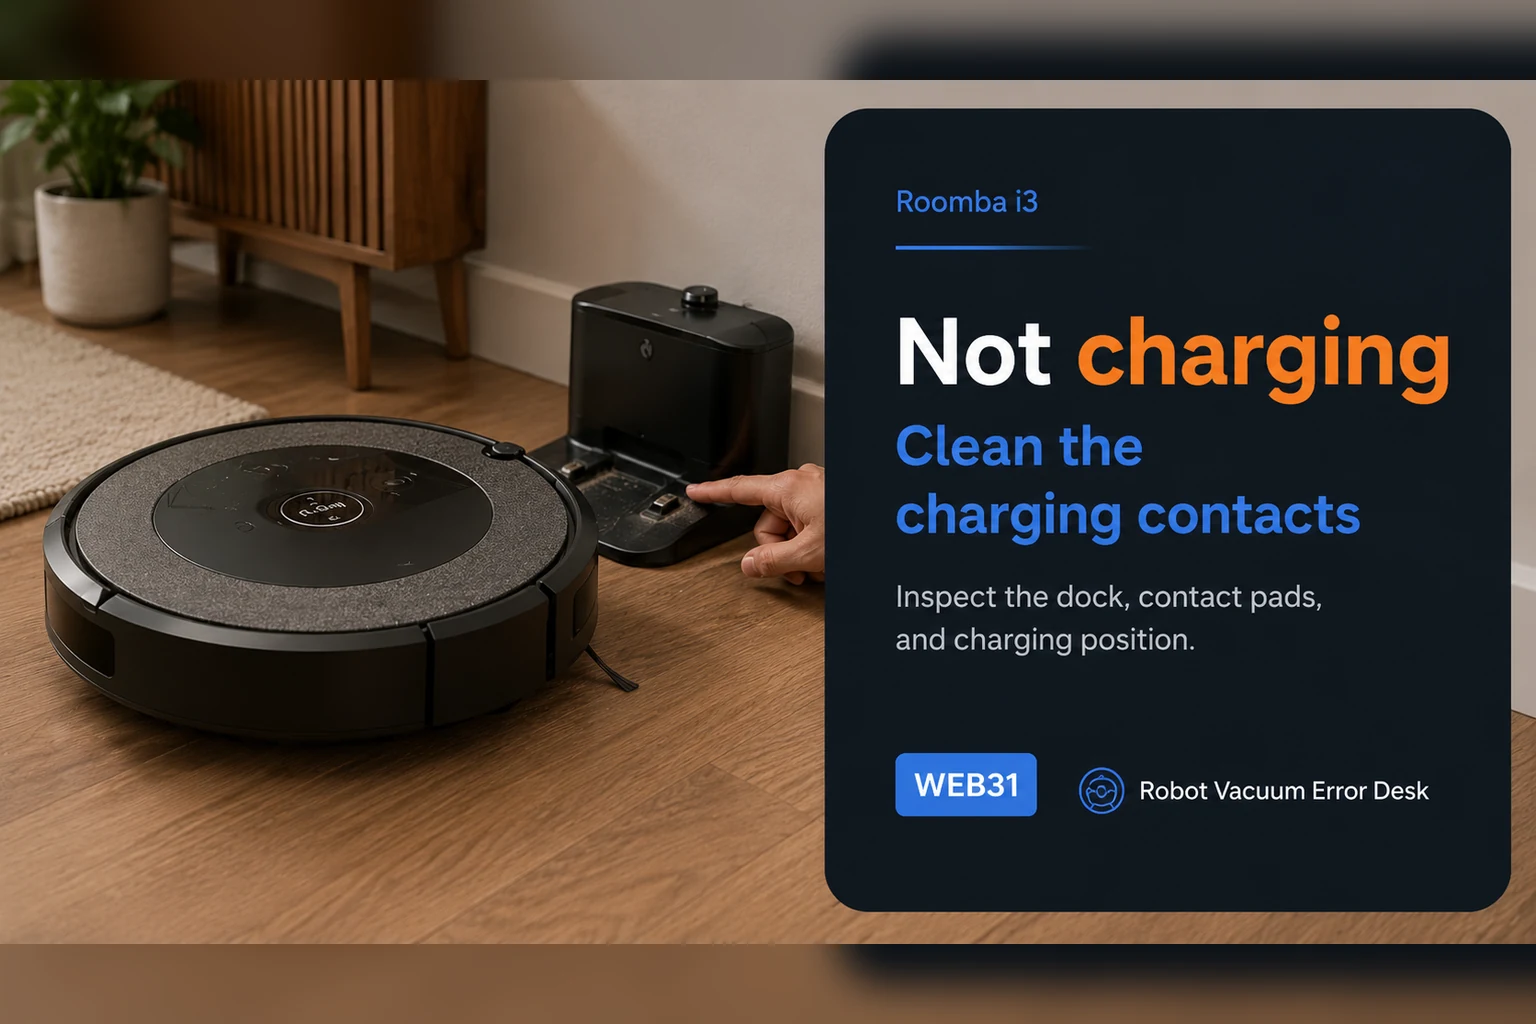
Treat a Roomba i3 charging complaint as three separate questions: does the Home Base have power, does the robot actually make electrical contact, and does the battery state rise after contact is established? iRobot's charging guidance starts with dock power and maintenance rather than a replacement battery. Manually seat the i3 on a confirmed powered base, clean both charging contacts, allow a deeply depleted robot time to wake, and compare the battery state before and after a controlled charging interval. If manual seating works but autonomous returns do not, the problem belongs in docking/navigation diagnosis. If the i3 never acknowledges charge even when directly aligned, use the supported reboot or battery re-seat path and then escalate with the exact symptom rather than buying parts by guesswork.
Confirm the exact model and exact code, light pattern or symptom.
Run the lowest-risk physical or software check first.
Use each pass condition to decide what the result actually narrows down.
Confirm this is the right issue
- The i3 or i3+ sits on the Home Base but battery percentage does not rise.
- The robot appears dead after long storage or a very deep discharge.
- The i3 charges when manually positioned but often fails after autonomous docking.
- The app shows a stale or low battery state even though the robot has been on the base.
What’s most likely causing this
Home Base power cord or outlet is not delivering power reliably
Charging pads are dirty, oxidized or not meeting squarely
A deeply depleted i3 needs time to wake before normal indicators appear
Navigation/alignment is failing even though the electrical charging path works
Battery, dock electronics or robot charging hardware remains faulty after controlled tests
Reading your test result
| What you observe | What it narrows down | Next move |
|---|---|---|
| No response when manually seated on a known-good outlet | The failure is before normal charge progression: dock power, contact or robot power state is still unproven. | Recheck power lead and both contact surfaces, then use the supported wake/reboot path. |
| Robot wakes and battery percentage rises | The charging circuit and battery acceptance are working. | Stop battery diagnosis and investigate autonomous docking only if return-to-base still fails. |
| Robot shows charging but percentage stays flat | Contact is detected, but useful charge is not accumulating. | Run the timed local-app test again and escalate with the recorded battery state. |
| Charges only when hand-positioned | Electrical charging can work; final approach or alignment is the stronger suspect. | Inspect caster/wheels and use the return-home diagnostic instead of replacing the battery. |
| Contacts are damaged, stuck or discolored | Cleaning cannot correct a mechanical/electrical contact defect. | Stop repeated docking attempts and contact iRobot for the appropriate dock or robot service path. |
Reset can erase maps/settings on this path. Use lower-risk checks first and document the current state before resetting.
Work through these checks in order
Prove the Home Base is powered before touching the battery
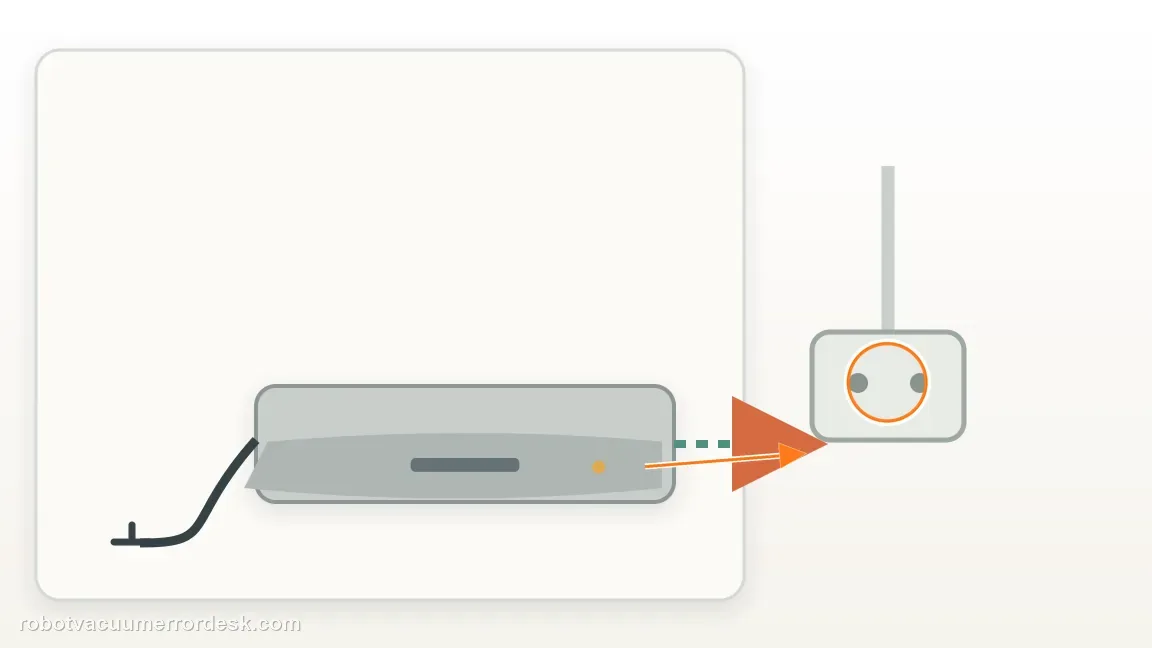
Unplug and firmly reseat the Home Base power lead, then test the wall outlet with another known-good device if there is any doubt. iRobot notes that dock indicators can turn off after a short time to save power, so a dark light by itself is not proof that the base is dead. Place the i3 on the base and look for the robot to wake, beep or show charging behavior. This first check prevents a common mistake: replacing a battery when the robot never received reliable dock power in the first place.
Clean both sides of the charging interface
Remove the i3 from the base and inspect the metal contacts on the underside of the robot and on the Home Base. Residue can create intermittent resistance even when the robot looks correctly parked. Clean only as the manufacturer permits, then verify that the dock contacts are not stuck, damaged or sitting lower than the opposite side. Re-seat the robot squarely rather than nudging it from one corner. The useful observation is not whether the robot is physically on the plastic base, but whether the electrical contact state changes every time it is placed there.
Give a deeply depleted i3 time to wake
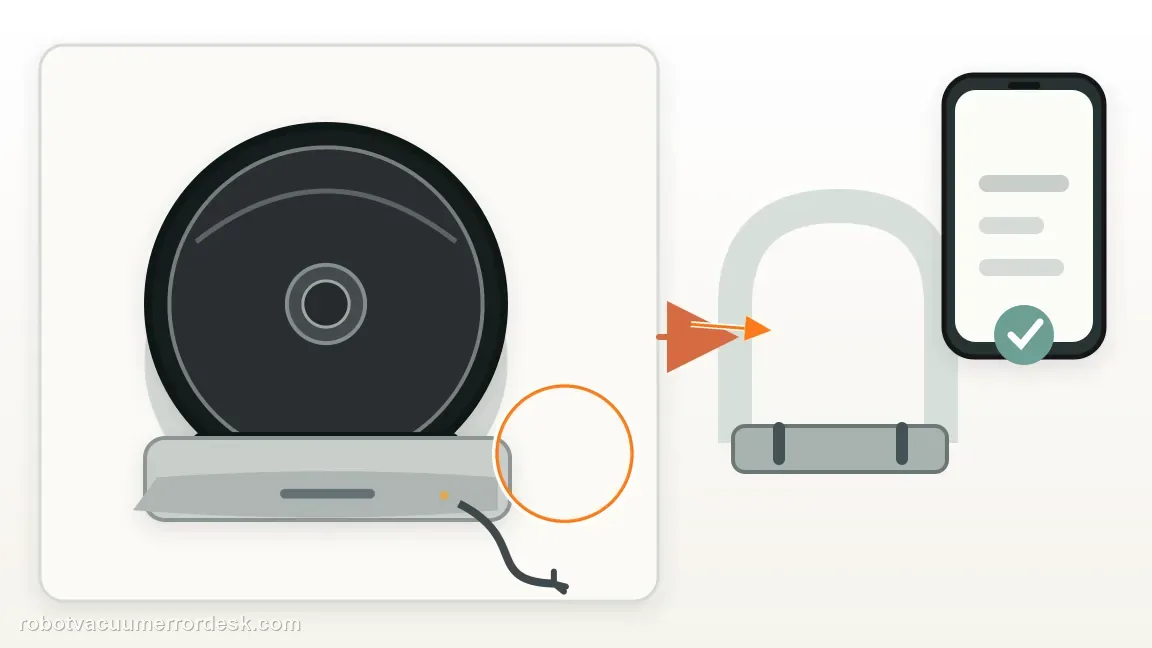
An i-Series robot that has been fully exhausted may not present its normal status instantly. iRobot documents that a deeply depleted robot can take time to wake and begin normal light-ring behavior. Leave the i3 undisturbed on the powered base instead of lifting it every minute. If it wakes, note the first battery state and the time. A delayed wake-up followed by steadily increasing charge is different from a robot that never acknowledges the dock at all, and it points away from an immediate hardware replacement.
Run a timed manual-seat charging test
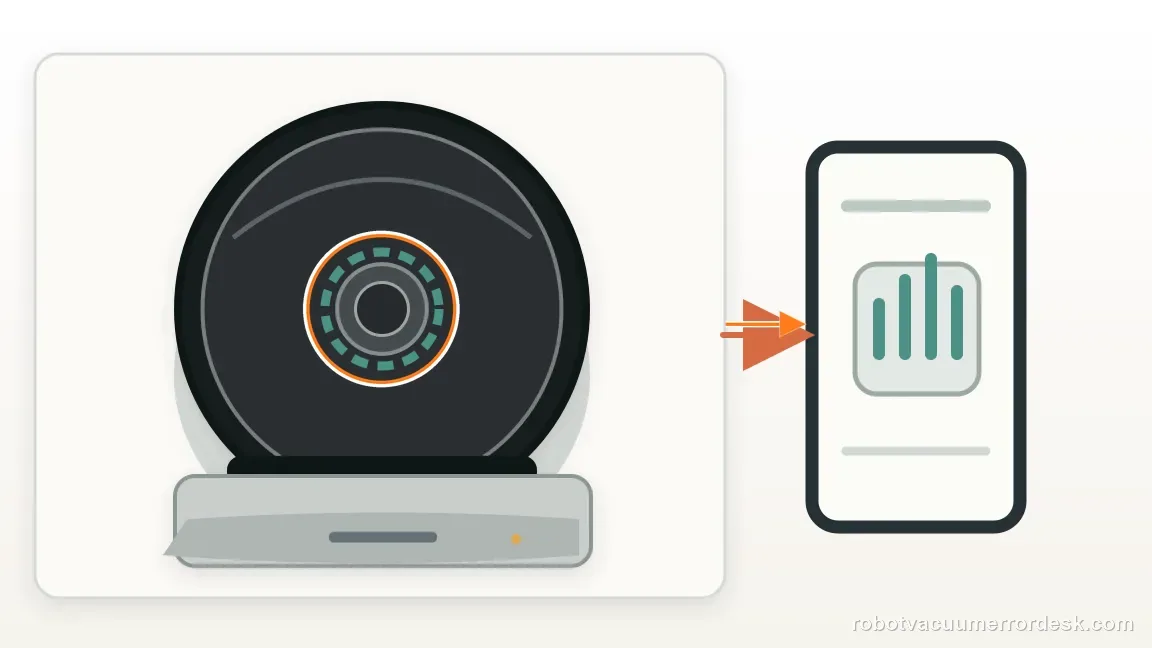
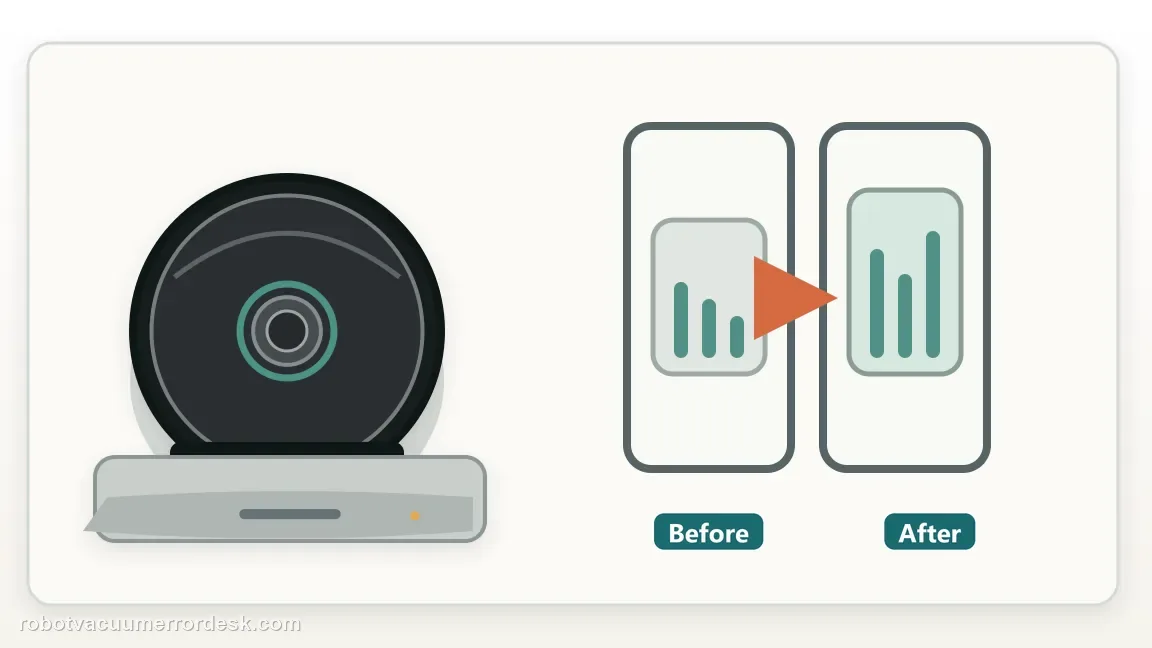
Place the i3 directly on the confirmed powered Home Base, record the battery percentage or light-ring state, and leave the robot untouched for a meaningful interval. Recheck locally in the iRobot app rather than relying only on a stale remote reading. If the percentage rises, the battery can accept charge and the basic dock-to-robot circuit is working. If the percentage is flat despite a confirmed charging indication, record that contradiction because it is much more useful to support than the vague statement that the robot 'will not charge.'
Separate a charging fault from a docking fault
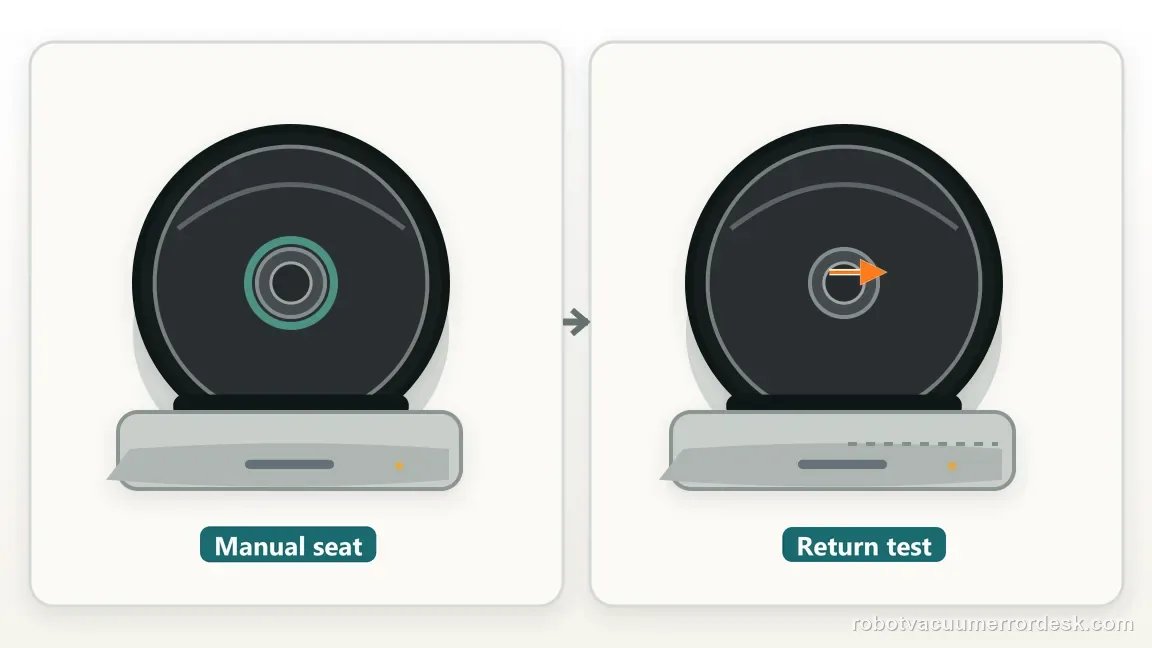
Start the next test only after manual charging has been proven. Put the i3 a short distance in front of the Home Base and command it home. If the robot finds the base but stops crooked, rides onto the base without charging, or repeatedly backs away, focus on final approach, contact alignment, caster and wheel condition. If manual seating charges perfectly, replacing the battery will not fix a navigation or mechanical docking problem. Keep the two diagnoses separate so the next repair decision is based on what actually failed.
Use the supported reboot or battery re-seat path once
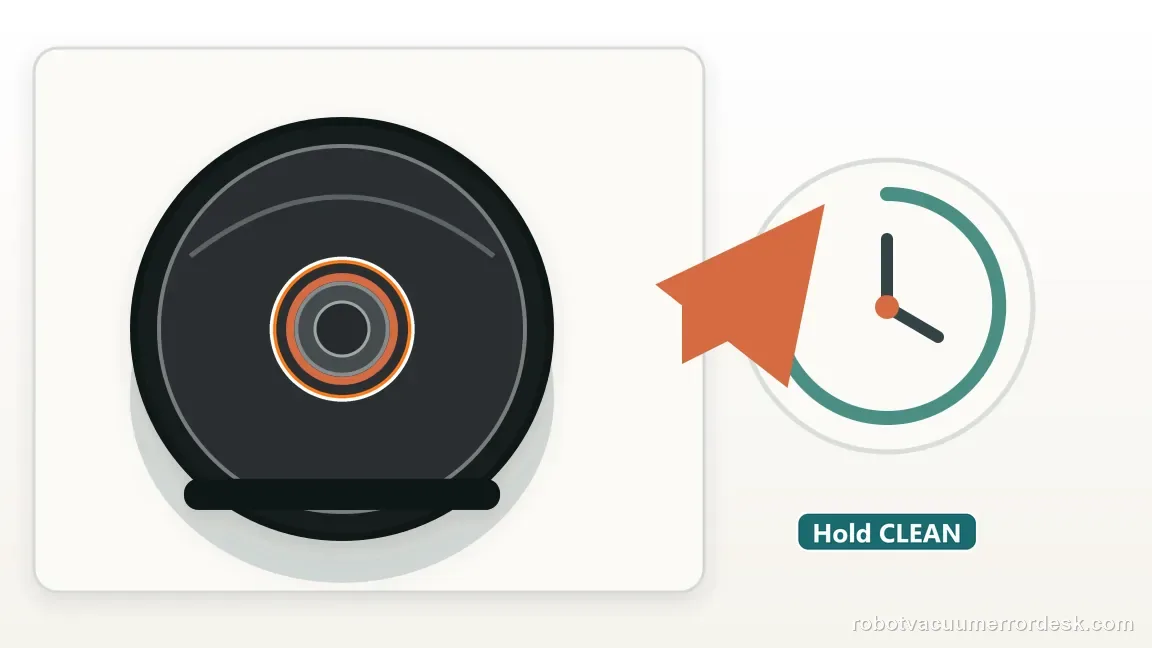
If the dock and contact checks are good but the i3 remains unresponsive or refuses to maintain a charging state, use iRobot's supported recovery path for the i Series rather than cycling power randomly. A reboot can clear a stuck state; on units where the official procedure calls for battery removal and reinstall, follow that procedure without opening the battery pack itself. After recovery, return to the same manual-seat test so the result is comparable. Repeated resets without a controlled retest only erase useful evidence.
Escalate with a specific charging-state record
If the i3 still cannot charge, collect the serial number, dock type, whether the robot wakes when seated, whether contacts look damaged, and a before/after battery reading from the timed test. Also state whether autonomous docking is separate from manual charging. This evidence helps distinguish battery degradation, dock output problems and robot-side charging electronics. Avoid opening the lithium-ion pack or the dock; those are not owner-level diagnostic steps and can add a new safety problem to the original fault.
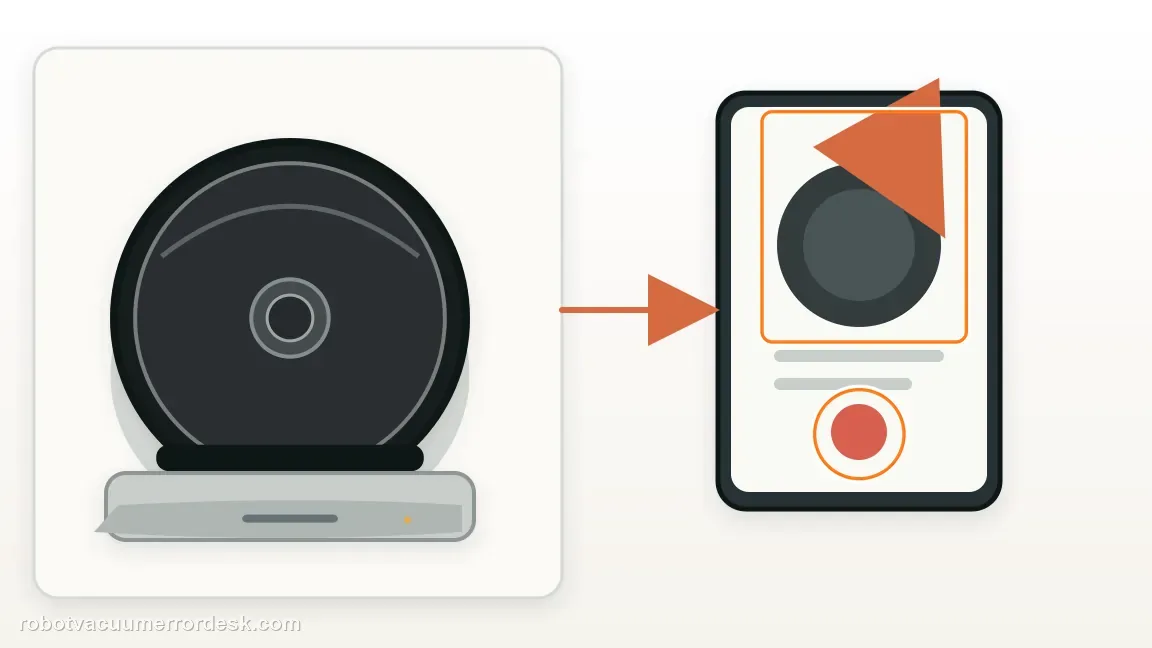
Escalate when a confirmed powered Home Base and clean, correctly aligned contacts still cannot produce a repeatable charging state, or when the robot reports charging but the battery does not gain charge during a timed local test. Send iRobot the serial number, dock model, before/after battery state, whether the i3 wakes on contact and whether manual seating differs from autonomous docking. Do not open the battery pack or dock electronics. If manual placement charges normally, treat the remaining problem as docking/navigation rather than a battery failure.
Before you contact support, gather this
A reproducible case moves a support call past the basic troubleshooting script faster than “it doesn’t work” does, and it keeps the clues from your own tests on record.
- Exact model name and the error code / voice prompt exactly as shown
- A photo or screenshot of the app error and the time it occurred
- A short list of the checks already completed and what happened after each one
- Robot serial number and proof of purchase if warranty may apply
Where this comes from
iRobot — Roomba not turning on or charging properly
iRobot separates dock power, charging-contact maintenance, wake/sleep recovery and battery re-seat checks; i-Series charging guidance also documents wake-up and light-ring behavior on the Home Base.
Additional official source: iRobot — i Series battery and charging overview ↗Additional official source: iRobot — i/j Series setup and Home Base contact alignment ↗Last editorial review: October 11, 2026Regional note: manufacturer help centers, model suffixes, mains-power requirements and warranty procedures can differ by country. If the source redirects to a local support site, confirm that the model/hardware scope still matches before following a region-sensitive step.
This guide is rated Official series support. See what each evidence label means →
Questions people ask
Why is my Roomba i3 sitting on the dock but not charging?
A robot can be physically parked without making a good electrical connection. Confirm the Home Base has power, clean the metal contacts on the robot and dock, then place the i3 squarely and watch for a charging response. If manual seating consistently charges but autonomous docking does not, the stronger problem is final alignment or navigation rather than the battery itself.
How long should I leave a completely dead Roomba i3 on the base?
Do not judge a deeply depleted i3 after only a minute or two. iRobot notes that an exhausted i-Series robot can take time to wake and show normal charging behavior. Leave it undisturbed on a confirmed powered base, then check whether the robot wakes and the battery state begins to rise. A delayed wake-up is different from no charging response at all.
Should I replace the Roomba i3 battery before cleaning the contacts?
No. Dock power and contact condition are cheaper, faster and more common variables to prove first. A dirty or poorly aligned contact can mimic a weak battery because the robot never receives steady charging current. Replace or service the battery only after a controlled manual-seat test, supported reboot path and contact inspection still show that the robot cannot accept or retain charge.
What if my Roomba i3 charges only when I push it onto the dock?
That result is useful because it proves the charging path can work. Focus on the final approach: base placement, wheel or caster drag, contact alignment and how squarely the i3 climbs onto the Home Base. Do not assume the battery is defective simply because autonomous returns end with poor contact. Use a separate docking test from a short, clear approach.
When should I contact iRobot about an i3 charging problem?
Contact iRobot when a known-good outlet, powered Home Base, clean contacts and a supported reboot still fail the same manual charging test, or when the robot reports charging but the battery percentage does not increase over a timed interval. Provide the serial number, dock type and before/after battery state. That evidence is more diagnostic than repeatedly resetting the robot or ordering parts at random.
Did this diagnostic narrow the fault?
Use this as an editorial signal, not a popularity counter. If a feedback address is configured you can email the note; otherwise you can copy it for your own support record.