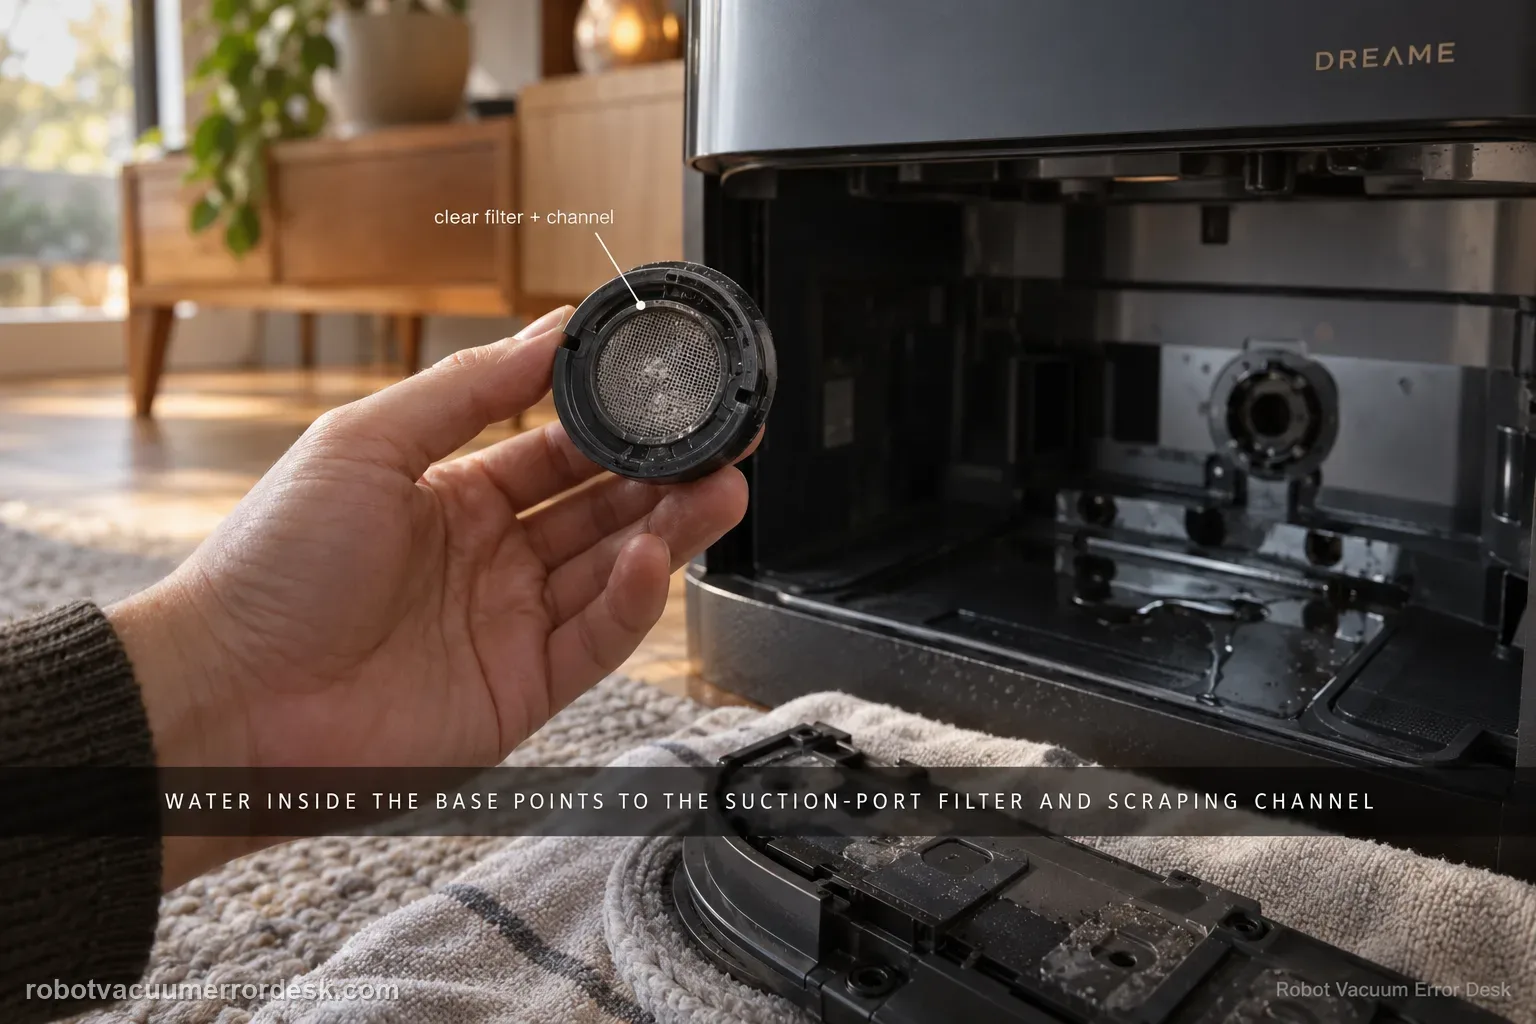
For water that appears inside the Aqua 10 Ultra Roller Complete base station, Dreame points first to the robot-side suction-port filter and the scraping channel around it. Treat this as a controlled leak-location test, not a reason to open the station. Stop repeated wet cycles, confirm the water is actually appearing inside the base rather than dripping outside it, remove the mop assembly, clear the filter and nearby channel, reinstall everything, then run one short task. If the base stays dry after that test, the blocked pickup path was the useful discriminator; if fresh water or sewage still accumulates inside the station, stop wet operation and escalate rather than disassembling powered wet-station parts.
Where is the first visible water?
Confirm the exact model and exact code, light pattern or symptom.
Run the lowest-risk physical or software check first.
Use each pass condition to decide what the result actually narrows down.
Is this the problem you’re seeing?
- Water or sewage appears inside the base-station area while the Aqua10 is operating or after it returns to charge.
- The visible leak is inside the station rather than a few isolated drops outside the station after robot water refill.
- The complaint occurs around wet cleaning or return-to-base behavior, not during dry vacuuming only.
- You can safely remove the robot mop assembly and inspect the owner-serviceable suction-port filter and scraping channel.
Likely root causes, ranked
Suction-port filter blocked with lint, hair or wet debris
Debris packed into the scraping channel around the filter
Restricted dirty-water pickup that allows water to remain where it should be extracted
Mop assembly reinstalled incorrectly after cleaning
A persistent wet-system fault beyond the documented owner-serviceable filter path
What the result narrows down
| What you observe | What it narrows down | Next move |
|---|---|---|
| Leak is inside the base and filter/channel visibly contain debris | The manufacturer-identified pickup path has an observable restriction. | Clean the filter and scraping channel completely before any retest. |
| Leak is outside the base at the robot refill area and only one or two drops appear after refill | Dreame documents a separate outside-base scenario in which a very small initial drip can be normal. | Use the outside-base leak path instead of treating it as this inside-base fault. |
| Filter/channel are clean and one short test stays dry | The restriction was a strong practical discriminator even though the article does not identify an internal failed part. | Resume normal use and monitor the next wet cycle. |
| Fresh leakage appears while the robot is operating during the short test after the filter/channel are clear and the mop assembly is reinstalled | The documented owner-serviceable pickup path has been cleaned, but leakage is reproducible during the cleaning run. | Stop wet retests and send Dreame a first-leak video plus photos of the clean filter/channel. |
| The base becomes wet only after the robot returns to charge following the short test with a clean filter/channel | The remaining leak is tied to the return-to-base moment rather than being observed during the cleaning run. | Stop wet retests and tell Dreame the leak first appears after return to charge; include the clean filter/channel photos. |
Do not factory-reset by default. Use the exact model’s reboot/network-reset procedure only when the manufacturer path calls for it.
Checks to run, in sequence
Confirm this is the inside-base leak path
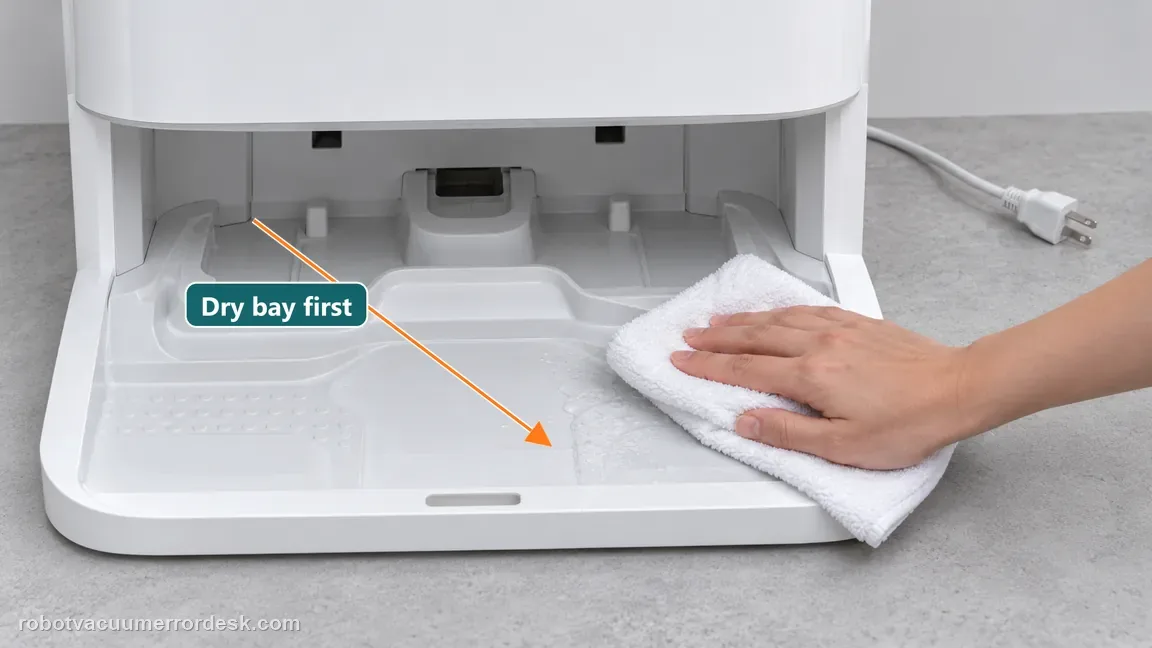
Before removing parts, identify exactly where new water appears. Dreame publishes separate guidance for water leaking inside the station and water leaking outside it. For this guide, the useful observation is water accumulating inside the base during operation or after the robot returns. Wipe the area dry first so an old spill is not mistaken for a new leak. Do not run repeated wash cycles just to make the puddle larger; one controlled observation is enough to classify the location. Location and timing decide which article applies. Dreame says one or two drops at the robot's refill port just after a water refill can be normal. Its separate outside-base guidance says to remove the used-water box, wipe its bottom surface and reinstall it tightly if moisture comes from that box. Water accumulating inside the station during a cleaning run or after return is the inside-base case: inspect the suction-port filter and scraping channel, then make one short controlled test. If a puddle spreads outside the station, water is coming from a hose/adapter connection, or the inside-base leak repeats after cleaning, stop the wet cycle and contact support instead of assuming every symptom is ordinary condensation or the same blocked filter.
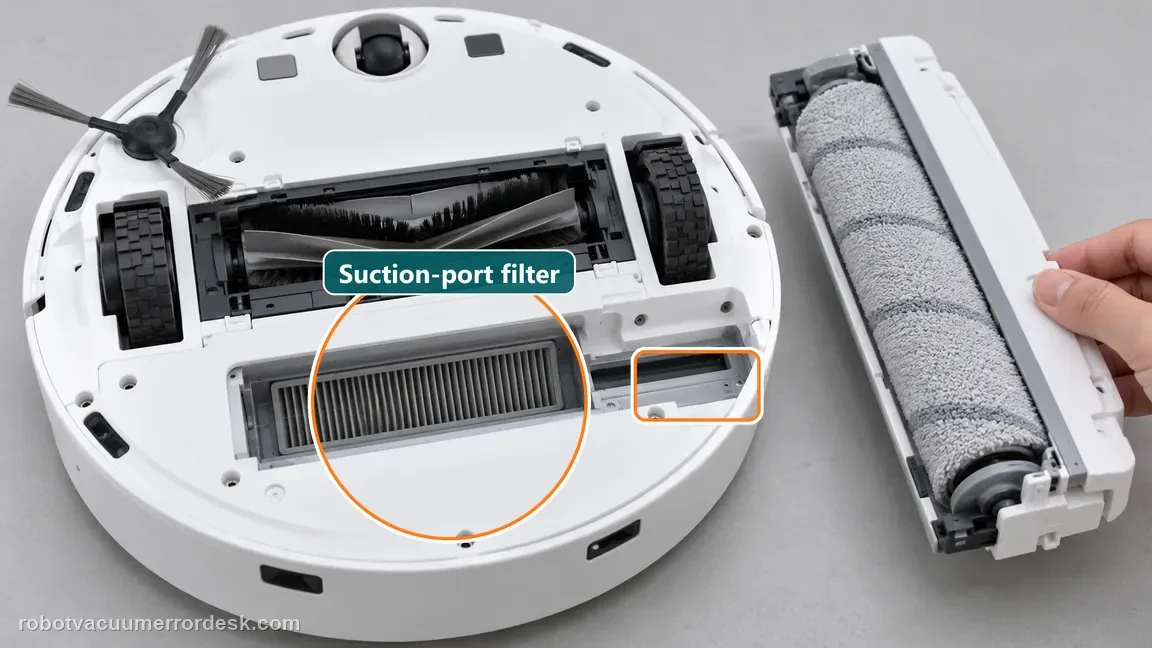
Remove the mop assembly to expose the suction path
With the robot out of the wet cycle, turn it over as required for the documented maintenance step and remove the mop assembly so the suction-port filter area is accessible. Keep the station itself closed. This step matters because the exact Dreame article assigns the likely owner-serviceable cause to the robot-side suction path, not to an internal station pump, valve or electrical component.
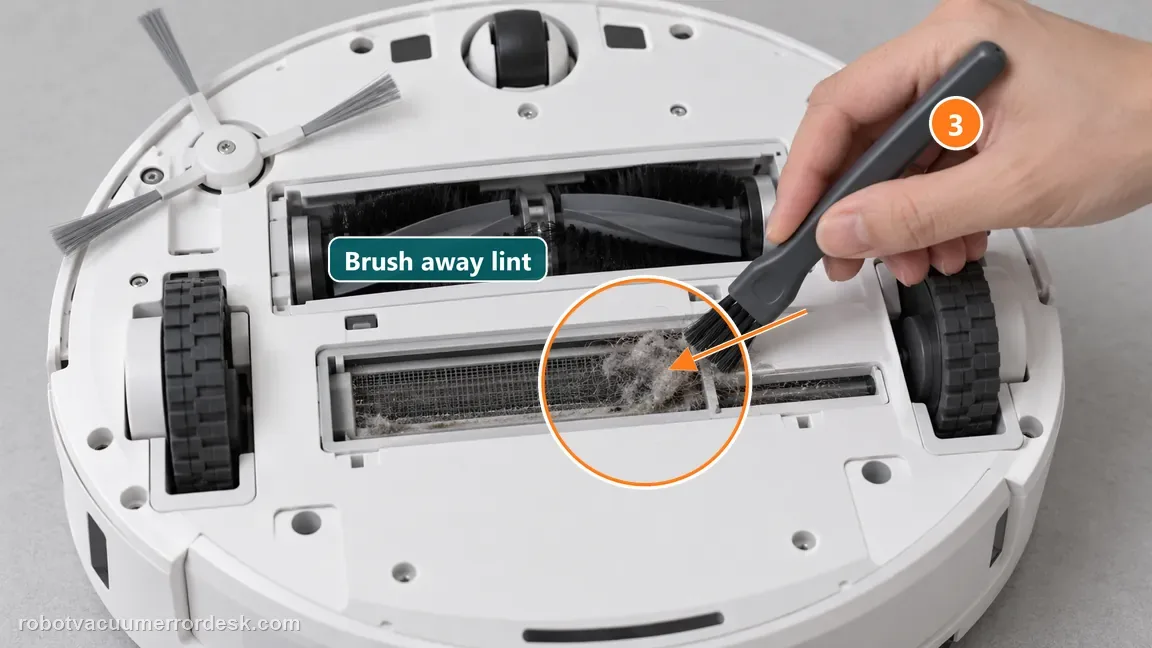
Clear the suction-port filter and scraping channel
Inspect the filter and the surrounding scraping channel for hair, fibers, sludge or other obstruction. Dreame specifically instructs users to clean the filter and the nearby scraping-channel area with a cleaning brush when blockage is present. Clean until the openings and surrounding path are visibly free rather than just brushing the surface. Avoid sharp tools that could damage the filter or seals. Dreame's support forum moderator adds an accessible washboard check for an Aqua 10 base leak: after the robot-side suction inlet is clear, wipe visible dirt from the washboard so debris does not obstruct drainage. Keep this to visible, owner-accessible surfaces with the robot stopped; do not pour water into the station or open its housing. The exact support article still identifies the suction-port filter and surrounding scraping channel as the primary owner check, so a clean washboard does not replace that step. If either path looks damaged or the leak continues after both accessible areas are clean, stop wet operation and send Dreame a video of the first new water plus photos of the filter, channel and washboard. One owner forum thread also describes leakage returning after removal and refitting of the robot's used-water tank. Treat that as a symptom to report if your own leak begins around that removable box, not as a reason to add pads, tape or improvised seals that Dreame has not approved.
Reinstall the mop assembly and establish a dry baseline
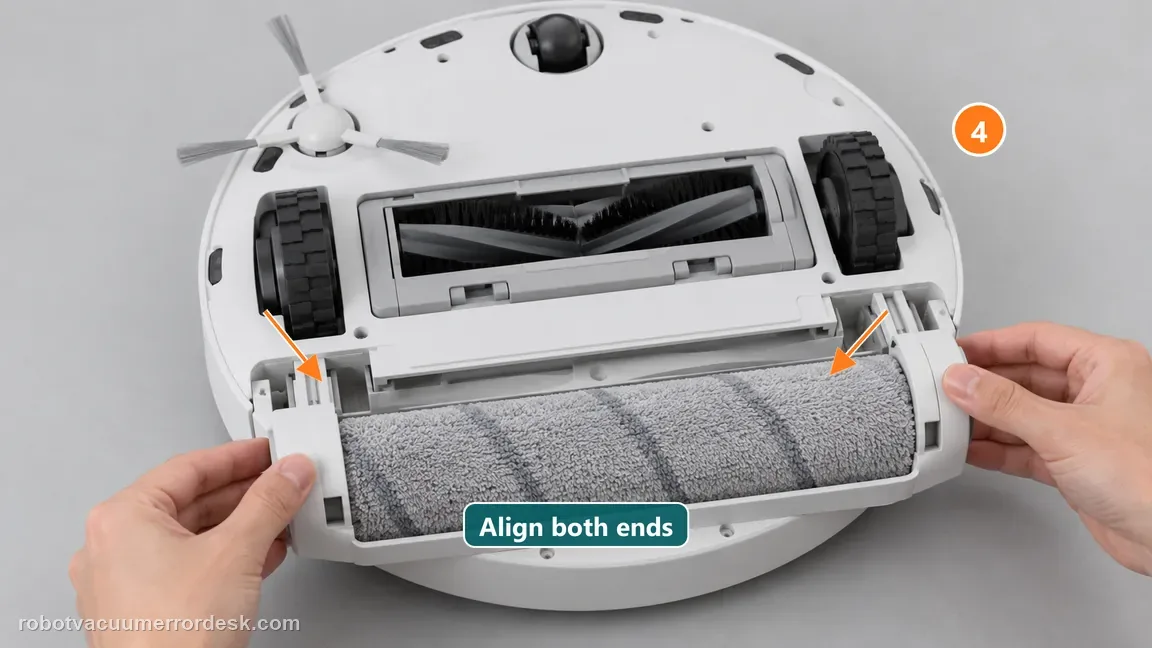
Reinstall the mop assembly fully, wipe residual water from the observable base area, and confirm no loose part was left behind. The dry baseline is important: without it, water left from the original event can make the repair look unsuccessful. Do not add unrelated resets or map changes here; this is a wet pickup/leak diagnostic and the manufacturer path does not use navigation changes as the first-line fix.
Run one short cleaning task and watch two moments
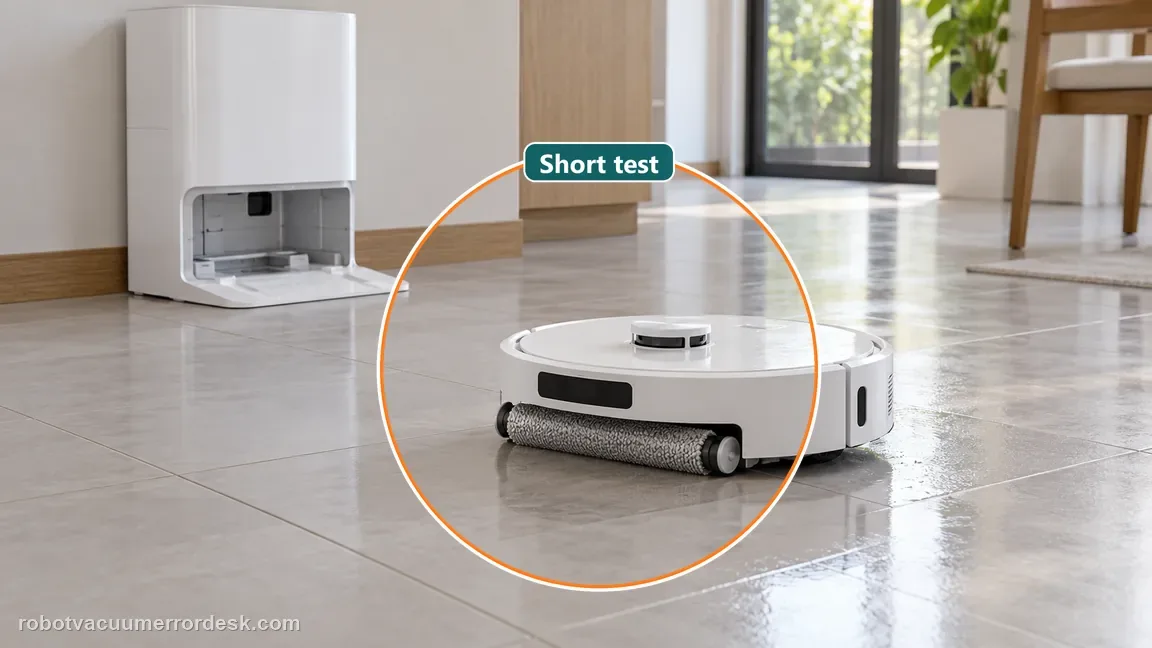
Run a short task exactly as Dreame recommends for the post-cleaning check. Observe once while the robot is operating and again after it returns to charge. If no new sewage leakage appears, stop there rather than stacking additional changes. If the leak returns despite a clean filter/channel, record where it first appears and stop repeated wet cycles so support receives a clean, reproducible failure rather than a flooded station.
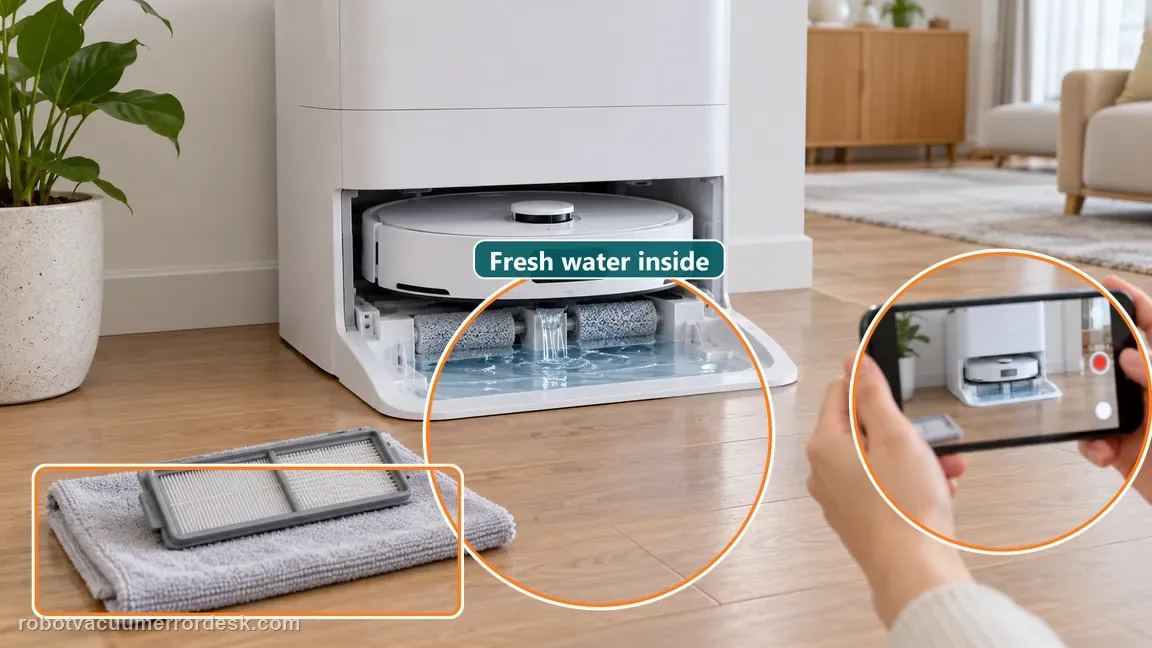
If water continues to appear inside the base after the suction-port filter and scraping channel are clean and the mop assembly is correctly installed, stop wet-cleaning tests and contact Dreame. Send a photo of the cleaned filter/channel, a short clip showing where fresh water first appears, and note whether it occurs during cleaning or only after return to charge. Do not open powered wet-station housings or probe internal pumps/valves; the cited owner path ends at cleaning and retesting the accessible filter area.
Information to have ready for support
Support can skip the basic troubleshooting script when you provide a reproducible case. That keeps the results of your checks from getting lost.
- Exact model name and the error code / voice prompt exactly as shown
- A photo or screenshot of the app error and the time it occurred
- A short list of the checks already completed and what happened after each one
- Short video showing the failed docking, mapping or base-station behavior
- Firmware version shown in Dreamehome
Source and evidence level
Dreame — Roller Series: Robot Leaking Water Inside the Base Station
Current English Dreame Roller Series support explicitly applies to Aqua 10 Ultra Roller Complete and identifies a clogged suction-port filter as the owner-serviceable cause: remove the mop assembly, clean the filter and surrounding scraping channel, reinstall, then run a short test during operation or after return to charge.
Additional official source: Dreame Aqua10 — leaking water outside base ↗Additional official source: Dreame Aqua 10 Ultra Roller Complete — Support Hub ↗Last editorial review: October 11, 2026Regional note: manufacturer help centers, model suffixes, mains-power requirements and warranty procedures can differ by country. If the source redirects to a local support site, confirm that the model/hardware scope still matches before following a region-sensitive step.
This guide is rated Official model support. See what each evidence label means →
Common questions
Is water leaking inside the base the same as one or two drops outside it?
No. Dreame publishes separate paths. Its outside-base Aqua10 article says one or two drops from the robot refill port immediately after refilling can be normal, while the inside-base Roller Series article points to the suction-port filter and surrounding scraping channel. Identify where the first fresh moisture appears before choosing a fix; a migrated puddle can make those locations look deceptively similar.
Why does Dreame start with a filter on the robot when water appears in the base?
Because the current Roller Series article explicitly says a clogged suction-port filter can cause this inside-base leakage and applies to the Aqua 10 Ultra Roller Complete. The owner path is therefore to remove the mop assembly, clean the filter and surrounding scraping channel, reinstall the mop assembly and make a short retest. It does not begin with opening station pumps or valves.
Should I rinse the robot or station while cleaning the leak path?
No. Clean only the parts and areas the manufacturer identifies as owner-serviceable. The Aqua10 manual warns against rinsing the robot or base station as whole units and says sensitive areas should be kept dry. Use the cleaning brush on the suction-port filter and scraping channel as directed, then reinstall the mop assembly before testing. Do not pour water into the station to “flush” a suspected leak.
How should I retest after cleaning the suction-port filter?
Start from a dry baseline. Reinstall the mop assembly, run one short cleaning task and observe whether sewage leakage appears during operation or after the robot returns to charge, matching Dreame’s support sequence. If no new leak appears, stop there. If fresh water returns from the same inside-base location, record the first appearance instead of running repeated wet cycles that enlarge the puddle.
What evidence should I send Dreame if the inside-base leak continues?
Send a photo of the cleaned suction-port filter and scraping channel, a short clip showing where fresh water first appears, and note whether it happens during cleaning or only after return to charge. State that the mop assembly was reinstalled before the controlled test. That mirrors the manufacturer’s owner path and avoids obscuring the fault with internal station disassembly or repeated flooding tests.
Did this diagnostic narrow the fault?
Use this as an editorial signal, not a popularity counter. If a feedback address is configured you can email the note; otherwise you can copy it for your own support record.