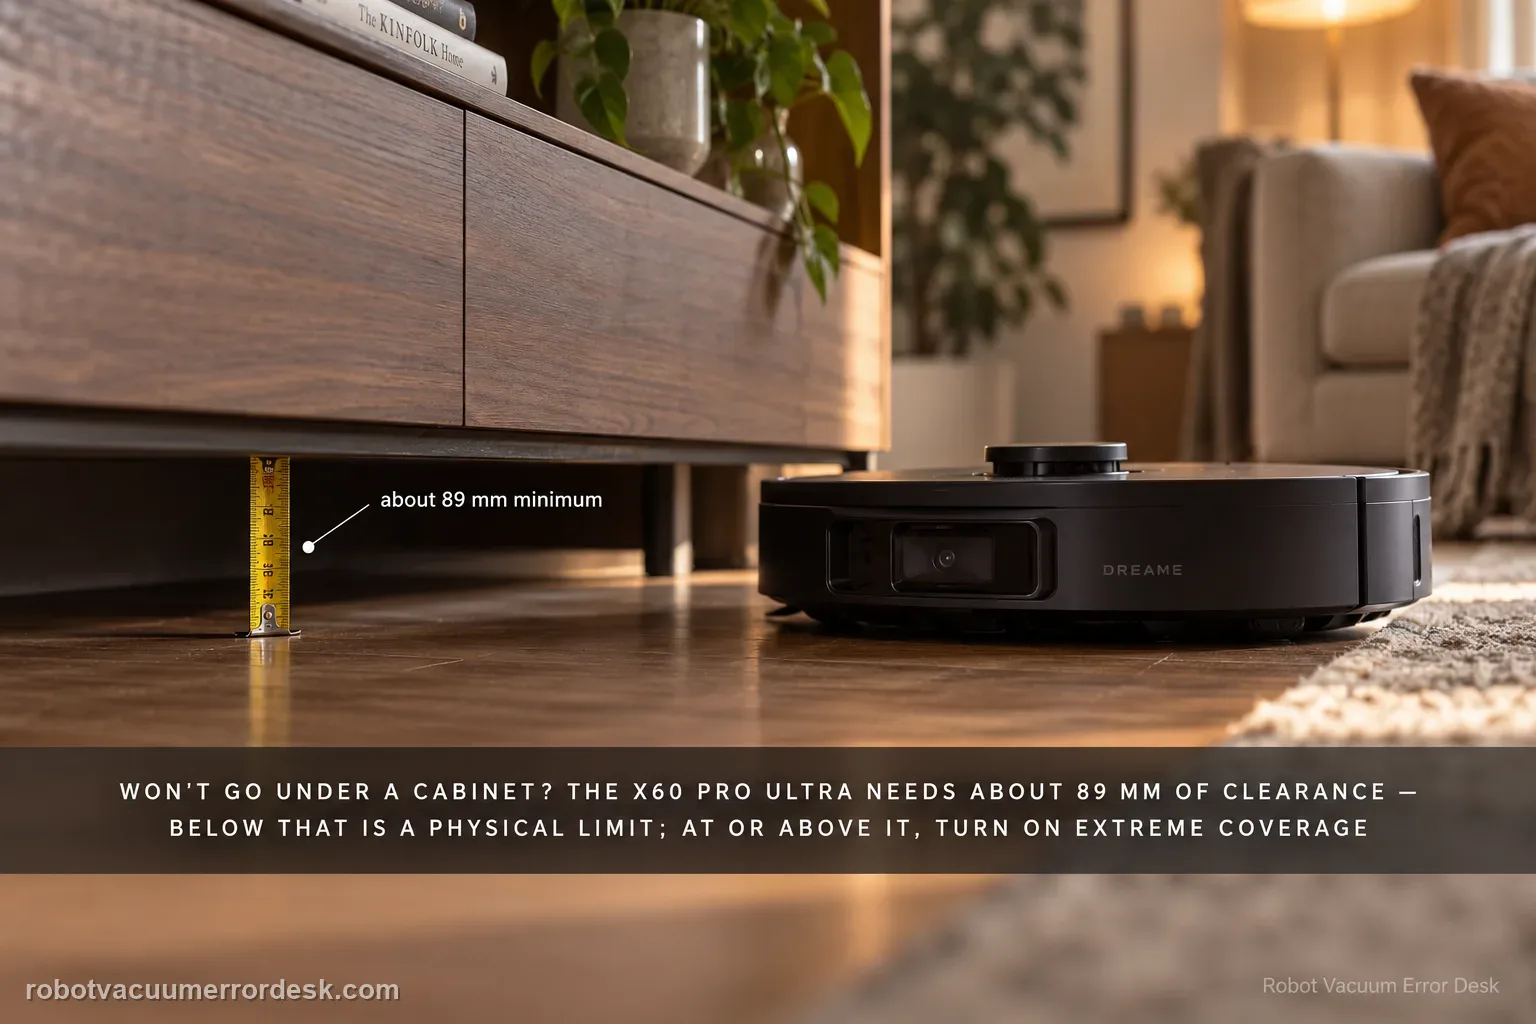
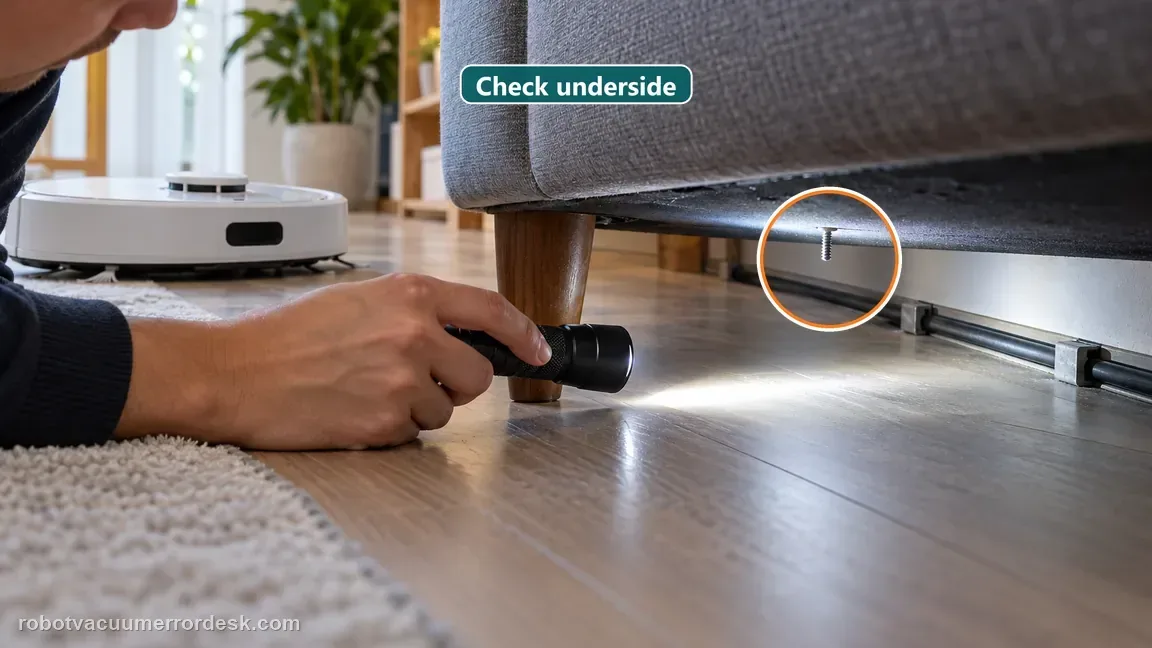
Measure before changing settings. Dreame states that the X60 Pro Ultra Complete needs approximately 89 mm of furniture clearance; an opening below that is a physical limit, not a mapping fault. If the lowest usable opening is at or above that figure, check Settings → Ground Cleaning Settings → Extreme Coverage and, where useful, mark a Low-Height Area in map editing. Because Extreme Coverage lowers the robot’s profile, Dreame also warns you to inspect the floor and underside of furniture for protrusions such as loose nails or hidden cable channels before enabling the behavior.
Confirm the exact model and exact code, light pattern or symptom.
Run the lowest-risk physical or software check first.
Use each pass condition to decide what the result actually narrows down.
Does this match your problem?
- The X60 avoids a bed, sofa, cabinet or other low opening even though the surrounding room is mapped and otherwise reachable.
- The entrance height is close to the robot’s low-profile limit, so a visual guess is not enough to decide whether the space is actually usable.
- The robot can navigate normally in open areas but does not lower its top radar to enter the low-height zone.
- You are considering Extreme Coverage or a Low-Height Area and want to know when those settings are appropriate rather than forcing the robot underneath.
Most likely causes
The lowest real opening is below Dreame’s approximate 89 mm minimum clearance.
Extreme Coverage is not enabled, so the robot is not using the automatic top-radar lowering behavior for low spaces.
The low-height space has not been identified in map editing when a manual Low-Height Area would better describe the environment.
A rail, loose nail, cable channel or other protrusion reduces safe clearance even when the main furniture gap measures above 89 mm.
The space passes the documented physical and settings checks but the radar/lowering mechanism still does not behave as expected, which is the point to document and escalate.
What your test result means
| What you observe | What it narrows down | Next move |
|---|---|---|
| Lowest opening measures under ~89 mm. | The space is below Dreame’s published minimum clearance. | Do not force entry or treat avoidance as an LDS failure; block or leave the area out of the cleaning route. |
| Opening is ≥~89 mm but Extreme Coverage is off. | The robot may be staying at its normal profile rather than lowering the top radar. | Enable Extreme Coverage and run one controlled low-height test. |
| Opening is sufficient but a rail/nail/cable channel hangs lower. | Nominal height is not the same as safe usable clearance. | Remove the hazard if appropriate or mark the area as no-go rather than risking scratches or entrapment. |
| Clearance and settings pass, but the robot never lowers/enters. | The problem is no longer explained by the documented environmental checks. | Capture a side-view video and map screenshot for Dreame support. |
| Robot enters the area but top cover touches a hidden projection | Nominal furniture height passed, but usable clearance is lower at that point. | Stop the test and remove/avoid the projection or mark that section no-go. |
Do not factory-reset by default. Use the exact model’s reboot/network-reset procedure only when the manufacturer path calls for it.
Run these checks in order
Measure the lowest usable opening, not the easiest point
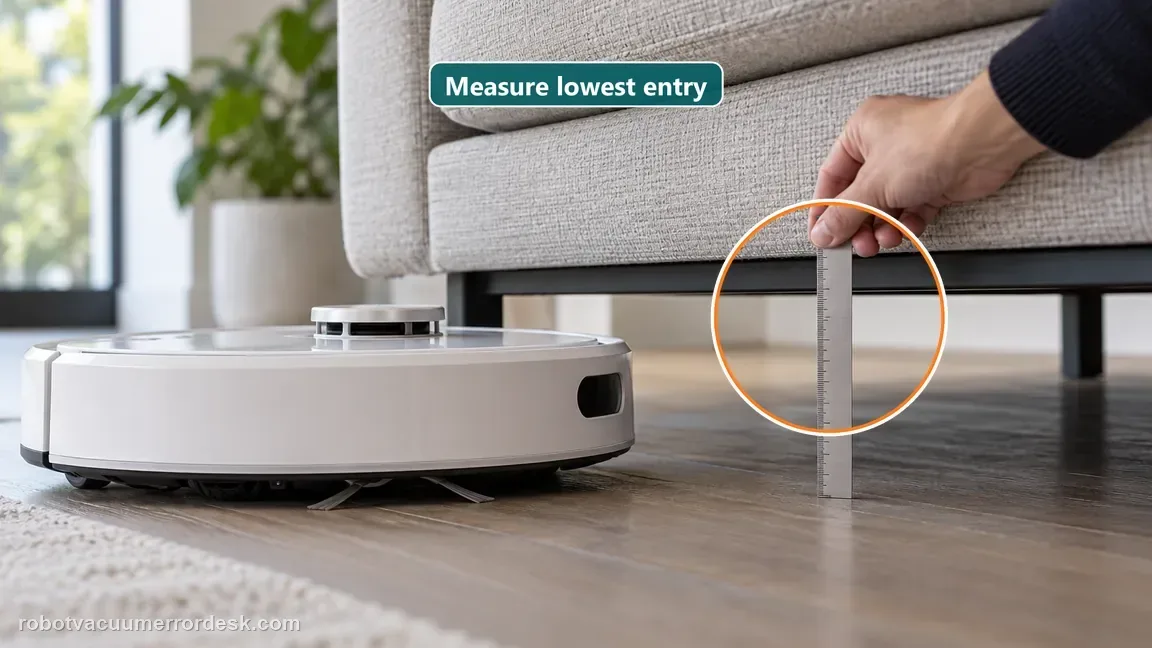
Use a ruler or tape measure at the actual entry path and find the lowest point the robot must pass under. Dreame publishes approximately 89 mm as the minimum furniture clearance for the X60 Pro Ultra Complete. Do not measure only the center of the sofa or bed if a front rail, sagging fabric, trim piece or support bar sits lower at the entrance. The purpose of this test is to separate a true physical height limit from a settings or radar behavior problem before you change the map. Treat the approximately 89 mm figure Dreame publishes as a minimum for the whole route, not only the front lip. A crossbar, sagging fabric, screw head or uneven floor can reduce the gap after the entrance. Stop a run if the top cover scrapes or the chassis wedges; do not let repeated scheduled runs retry the same spot. If you cannot make the path safely clear, exclude that footprint as a no-go area. A Low-Height Area tells the robot how to handle a qualifying low space; it cannot make an undersized or obstructed path safe.
Enable Extreme Coverage when the space actually qualifies
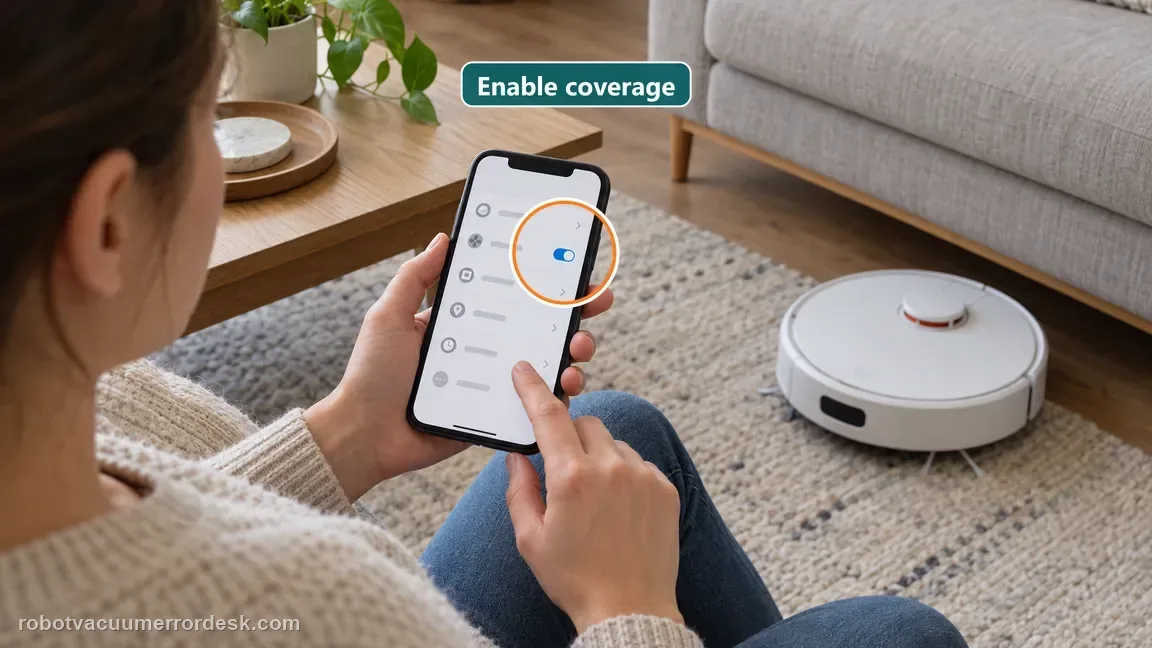
If the opening passes the height check, open Settings → Ground Cleaning Settings and review Extreme Coverage. Dreame says this setting controls the automatic raising and lowering of the top radar for low-lying areas. Enable it for the controlled entry test rather than pushing the robot under the furniture by hand. A settings test is meaningful only after the physical opening passes; software cannot create clearance that is not there.
Use Low-Height Areas when the map needs an explicit cue
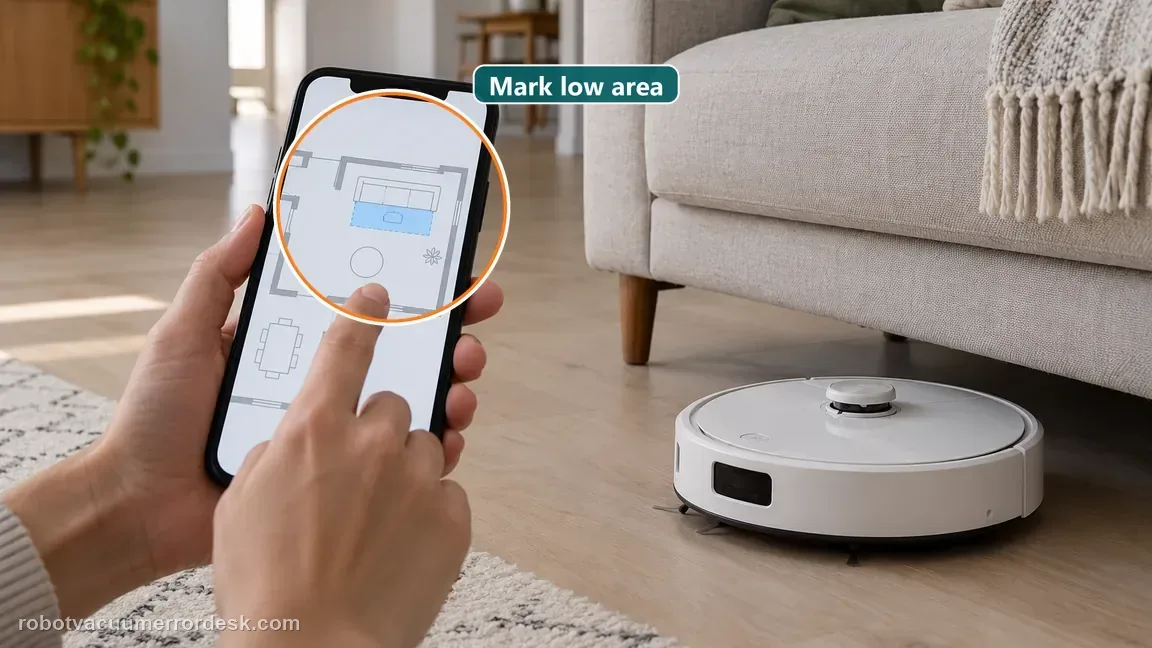
Dreame also documents a manual Low-Height Area option in map editing. If the furniture clearance is sufficient but the robot still treats the area conservatively, mark the relevant zone rather than rebuilding the entire map. Keep the marked area tight to the real low-clearance footprint so you are testing one variable. This step is especially useful when the room itself maps correctly and only the under-furniture zone is being skipped.
Inspect the floor and underside for protrusions before lowering
Extreme Coverage reduces the robot’s working height, which also reduces its margin around objects above and below it. Dreame specifically warns about protruding items such as loose nails and hidden cable channels and recommends checking the floor or underside briefly before using the function. If a hazard cannot be removed safely, mark that section as a no-go zone. This is not cosmetic: a single low screw or rail can make an otherwise 89 mm opening unsafe.
Run one side-view entry test and record the failure point
Start a normal cleaning task and observe the X60 from the side as it approaches the low-height area. Do not shove or guide the robot. If it lowers and enters, the clearance/settings path is working. If it stops before lowering even though the space, Extreme Coverage and map settings all pass, record a short side-view video and capture the map showing the Low-Height Area. Those two pieces of evidence show Dreame that you have already eliminated the published environmental causes. If the X60 moves and lowers the radar normally in other qualifying areas but skips one furniture footprint, check that footprint’s clearance and map editing before rebuilding the whole map. Dreame says to use Extreme Coverage in Settings → Ground Cleaning Settings and permits adding Low-Height Areas in map editing. If a measured safe area is marked correctly but the radar will not lower, remains lowered afterward or behaves abnormally in open space, capture a side-view video and contact support. Do not push on the moving radar cover to test the mechanism. Include the measured gap and firmware shown in the app, and say whether the same radar behavior occurs outside that one furniture zone. Keep the floor and dock in their normal positions for the test.
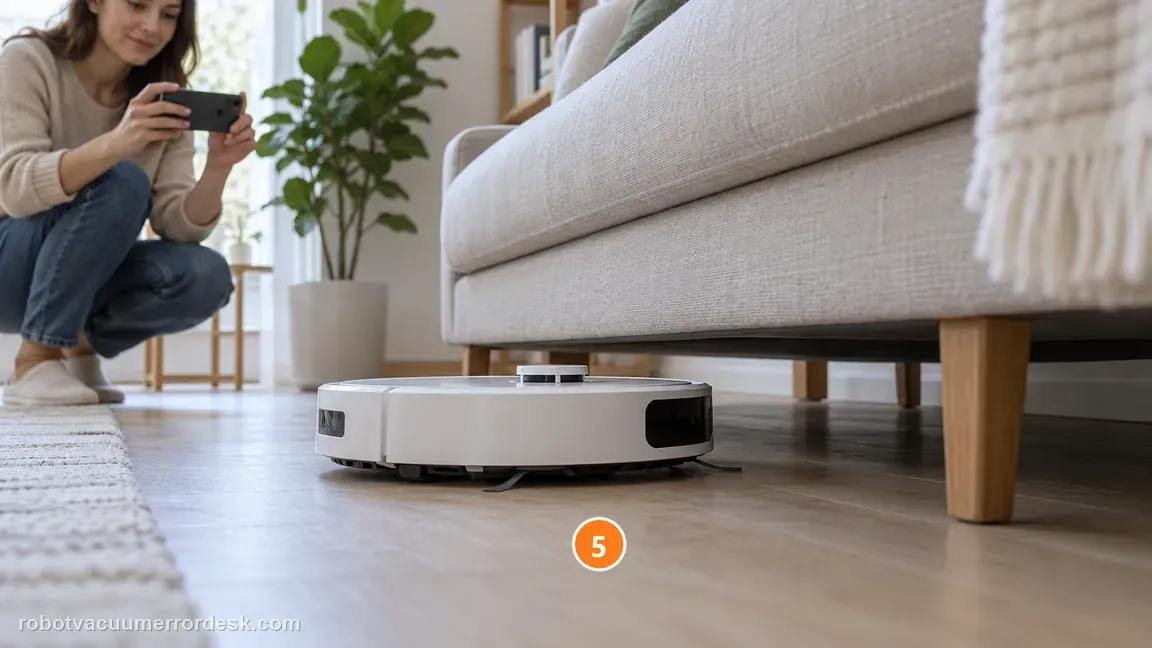
Contact Dreame if the X60 refuses a safely measured ≥~89 mm opening after Extreme Coverage and Low-Height Area settings are correctly applied, or if the radar mechanism appears not to lower as expected. Do not force the robot under furniture or modify the top sensor housing. If the only way to make the area fit is to scrape the cover against a rail or protrusion, exclude the area instead.
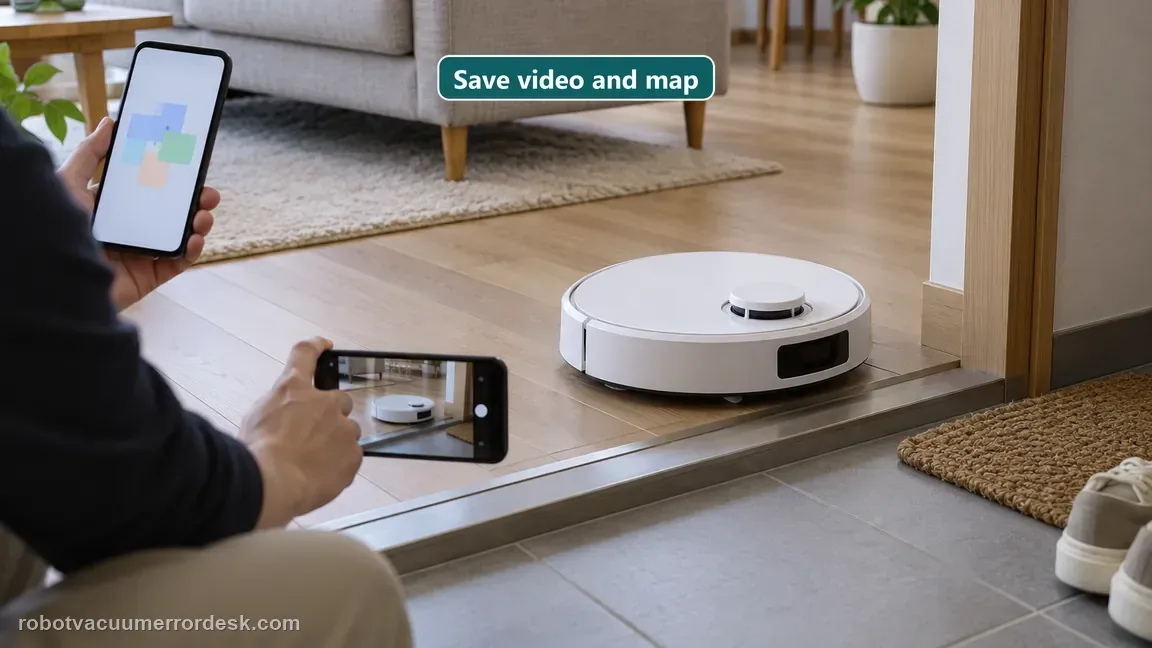
What to collect before contacting support
Give support a reproducible case instead of “it doesn’t work.” That reduces repeated basic troubleshooting and preserves the clues from your tests.
- Exact model name and the error code / voice prompt exactly as shown
- A photo or screenshot of the app error and the time it occurred
- A short list of the checks already completed and what happened after each one
- Short video showing the failed docking, mapping or base-station behavior
- Firmware version shown in Dreamehome
Manufacturer evidence
Dreame X60 Pro Ultra — LDS Function Issues
Dreame’s exact X60 LDS article gives an approximate 89 mm minimum clearance, Extreme Coverage and Low-Height Area controls, plus the warning to inspect for protrusions before lowering the robot. The official X60 user-manual page is retained as the model-manual cross-check; the diagnosis stays focused on physical clearance and VersaLift/LDS behavior rather than unrelated floor-plan styling.
Additional official source: Dreame X60 Pro Ultra Complete — User Manual ↗Last editorial review: October 11, 2026Regional note: manufacturer help centers, model suffixes, mains-power requirements and warranty procedures can differ by country. If the source redirects to a local support site, confirm that the model/hardware scope still matches before following a region-sensitive step.
This guide is rated Official model support. See what each evidence label means →
FAQ
Is 89 mm a guaranteed furniture opening for the Dreame X60 Pro Ultra Complete?
No. Dreame calls approximately 89 mm the minimum furniture clearance, so measure the lowest usable part of the real entry path rather than only the front edge. A rail, nail or cable channel can hang lower inside the space. If any point is below the safe clearance, do not force entry or treat the refusal as an LDS defect.
What does Extreme Coverage change on the X60 under low furniture?
Dreame says Extreme Coverage allows the top radar to raise and lower automatically so the X60 can clean low-lying areas. The setting is under Ground Cleaning Settings. It does not override the physical clearance requirement, so measure first and inspect for protrusions before testing the lowered profile under a bed, sofa or cabinet.
When should I add a Low-Height Area to the X60 map?
Use a Low-Height Area after the physical opening is adequate but the robot still needs an explicit map cue for that under-furniture zone. Mark only the actual low space, keep Extreme Coverage configured as intended and run one side-view test. Avoid rebuilding unrelated rooms unless the stored map itself shows a separate positioning problem.
Why does Dreame warn about nails and cable channels under low furniture?
Lowering the top radar reduces the vertical safety margin. Dreame warns that loose nails, hidden cable channels or other protrusions can scratch the top cover or trap the robot even when the main furniture gap appears tall enough. Inspect the floor and underside first, and use a no-go zone for a hazardous section instead of testing through it.
What should I document if the X60 still will not enter a measured 89 mm-plus space?
Record the lowest measured clearance, a side-view video of the approach, whether Extreme Coverage is enabled and whether a Low-Height Area is marked in the map. Also show any internal rail or projection. If those checks pass and the robot never lowers or enters, that evidence is more useful to Dreame than repeated remapping or manually pushing the robot underneath.
Did this diagnostic narrow the fault?
Use this as an editorial signal, not a popularity counter. If a feedback address is configured you can email the note; otherwise you can copy it for your own support record.