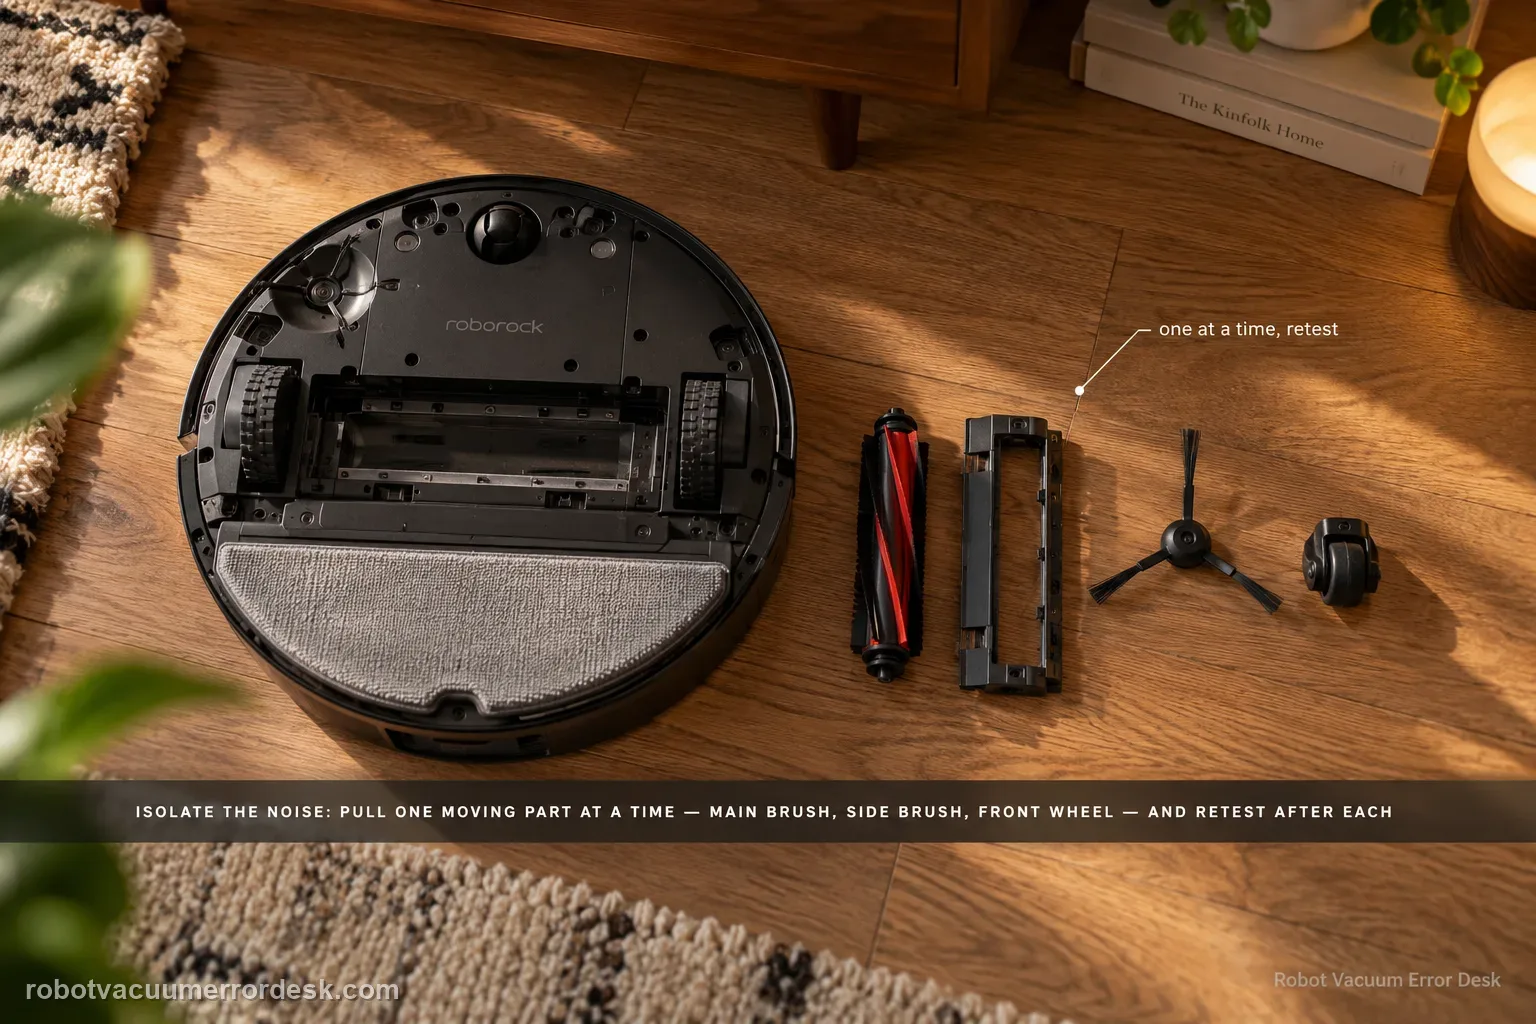
Roborock’s Saros 20 Sonic noise test is a component-isolation sequence, not “clean everything and hope.” Test briefly after each change: remove the main brush and cover, then the side brush, then the front wheel; press/rotate the drive wheels by hand; clean the dustbin/filter or use lowest suction; finally remove the mop mount or use Vacuum Only. When the noise disappears after one change, reinstall that component correctly and retest.
Confirm the exact model and exact code, light pattern or symptom.
Run the lowest-risk physical or software check first.
Use each pass condition to decide what the result actually narrows down.
Does this match your problem?
- The robot suddenly sounds much louder than its normal cleaning tone.
- There is grinding, scraping, rattling or squealing during movement.
- The sound changes with vacuum mode, brush rotation or mopping.
- You are diagnosing abnormal noise on a Roborock Saros 20 Sonic and want the exact model support path rather than a generic reset list.
Most likely causes
Main-brush or cover seating problem
Side brush, front wheel or drive-wheel debris
Airflow/filter load or a mop-mount rubbing condition
Noise that disappears when one user-removable component is taken out localizes the source to that component or its seating; noise that remains through isolation needs support evidence.
What your test result means
| What you observe | What it narrows down | Next move |
|---|---|---|
| Noise stops without main brush/cover | Brush or cover installation is implicated | Reinstall with cover tabs aligned to slots. |
| Noise stops after side brush removal | Side brush/contact is implicated | Clean/reseat the side brush. |
| Noise changes when front/drive wheels are tested | Wheel mechanism is implicated | Clean and compare wheel movement. |
| Noise falls sharply at lowest suction or after filter cleaning | Airflow/filter restriction is implicated | Clean/dry filter and retest. |
| Noise persists through all isolation steps | Common removable sources are ruled out | Escalate with a recording and which tests changed nothing. |
Do not factory-reset by default. Use the exact model’s reboot/network-reset procedure only when the manufacturer path calls for it.
Run these checks in order
Separate brush noise from chassis noise
Power down, remove the main brush and brush cover, then run only the brief test Roborock describes. If the noise changes, inspect alignment and reinstall the brush cover tabs correctly before continuing. The main brush and cover are first because incorrect cover seating or brush contact can create scraping; Roborock specifically says the cover tabs must align with the housing slots.
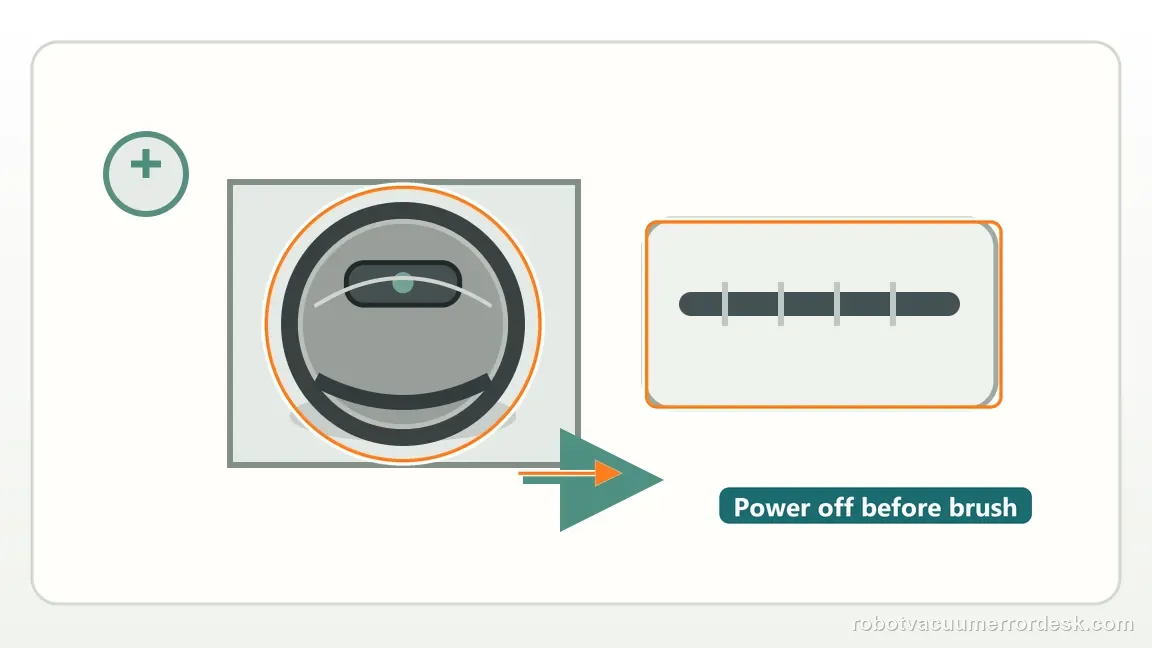
Isolate the smaller moving parts
Test again after removing the side brush, then inspect/remove the front wheel as appropriate. Press and rotate the drive wheels by hand to feel for abnormal drag or noise. Removing the side brush for a brief test isolates another rotating contact point without changing the suction system.
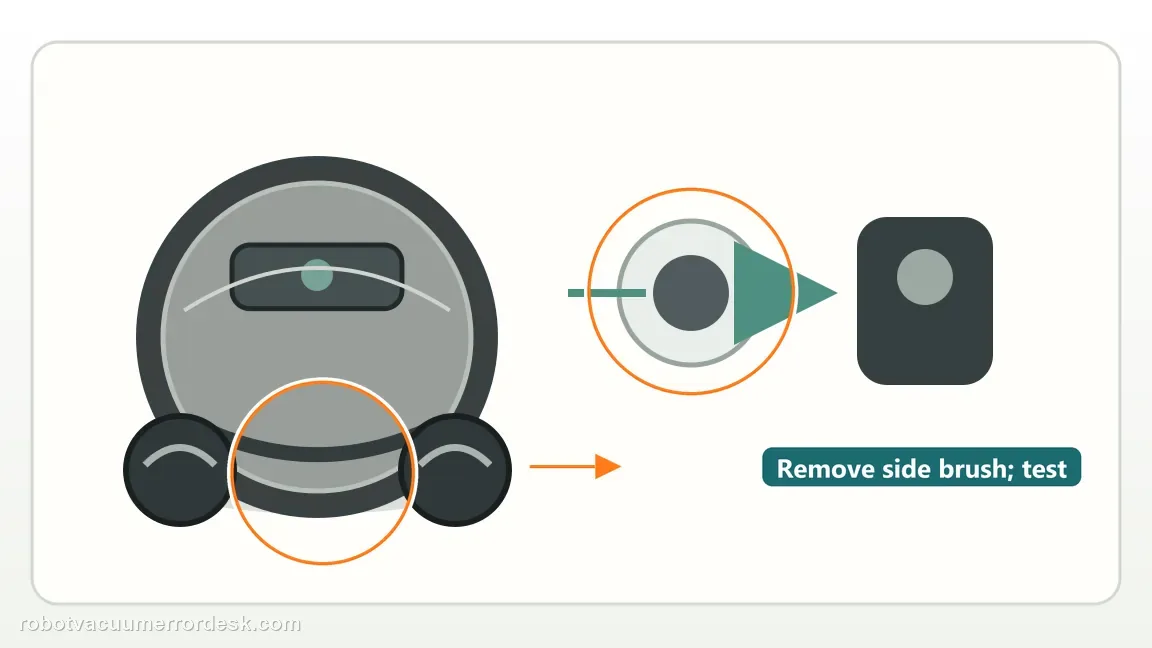
Separate airflow and mop-system noise
Clean the dustbin/filter or use the lowest suction mode for a short comparison, then test without the mop mount or in Vacuum Only mode. The front caster and drive wheels can produce mechanical noise even when brushes are clean; compare their movement separately.
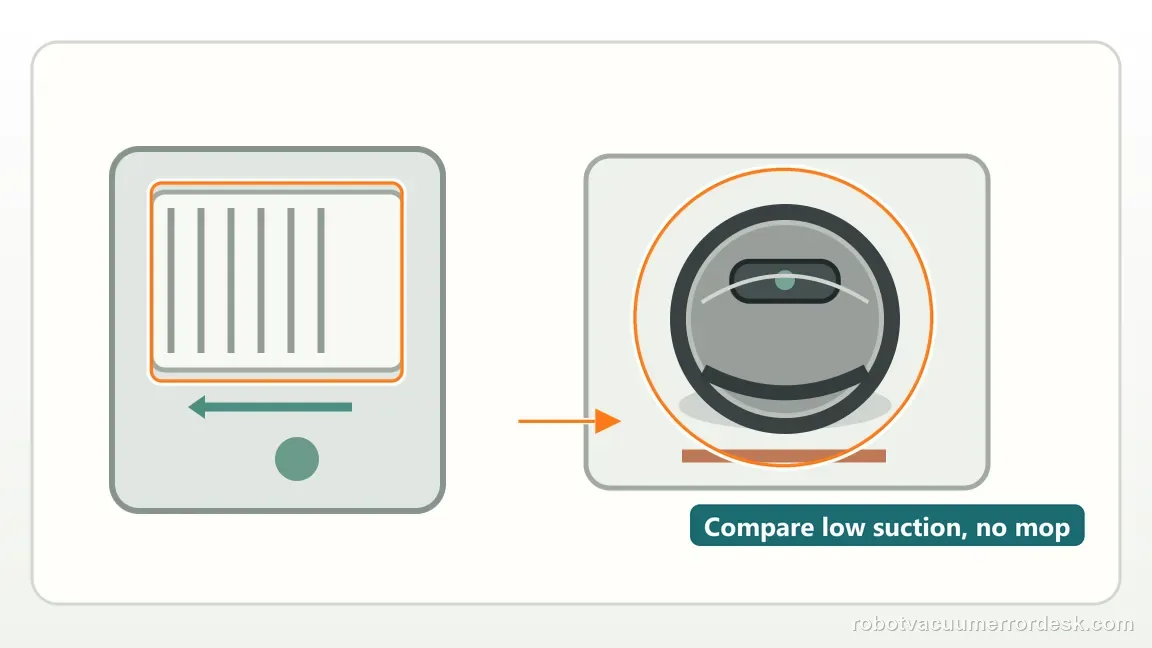
Confirm the isolated component with one brief retest
After each removal or cleaning check, run only a brief test as Roborock recommends. Once the noise changes or disappears, stop removing additional parts and reinstall the identified component correctly before a final confirmation run. Dustbin/filter restriction and high suction can change airflow sound, so the lowest suction mode helps distinguish airflow from mechanical rubbing.
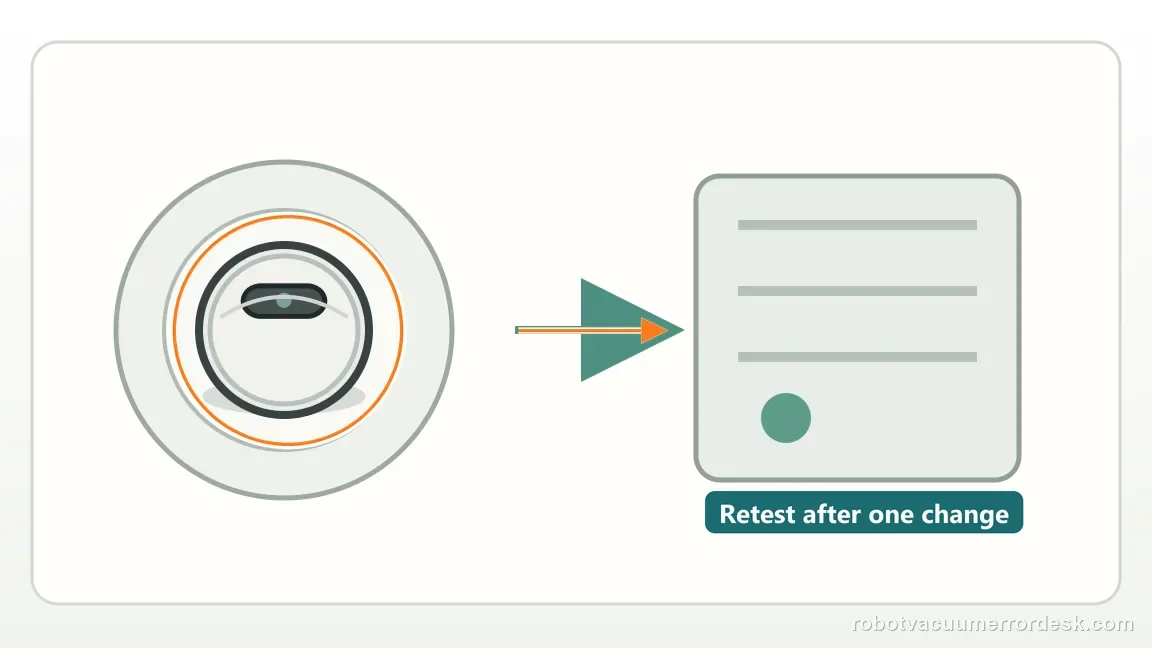
Record the sound before disassembly
Capture ten to twenty seconds of the abnormal sound on the same floor and suction mode so later component tests have a baseline.
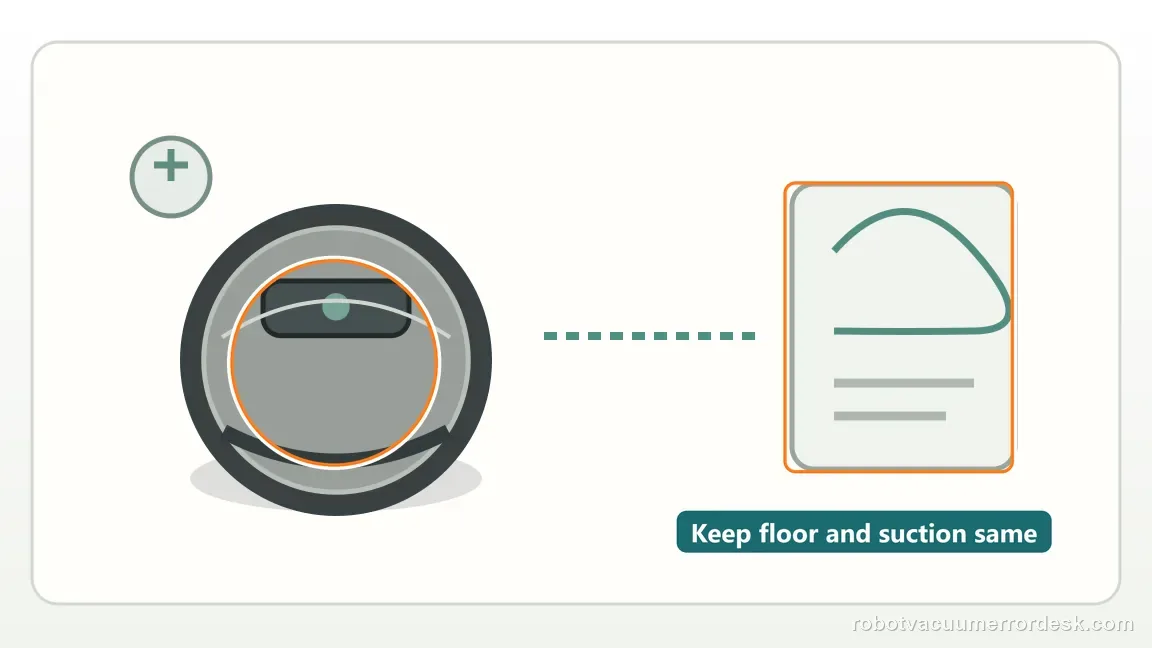
Reinstall only the component that changed the noise
When one removal quiets the robot, clean and reinstall that part correctly before the next test rather than continuing to strip unrelated parts.
Stop owner-level isolation if the abnormal sound persists after the documented brush, side-brush, wheel, filter/suction and mop-system comparisons, or if a drive wheel feels mechanically damaged. Send Roborock a baseline recording and note which brief test changed the sound, if any. Do not open the fan, drive modules or chassis simply because all removable-part checks were negative.
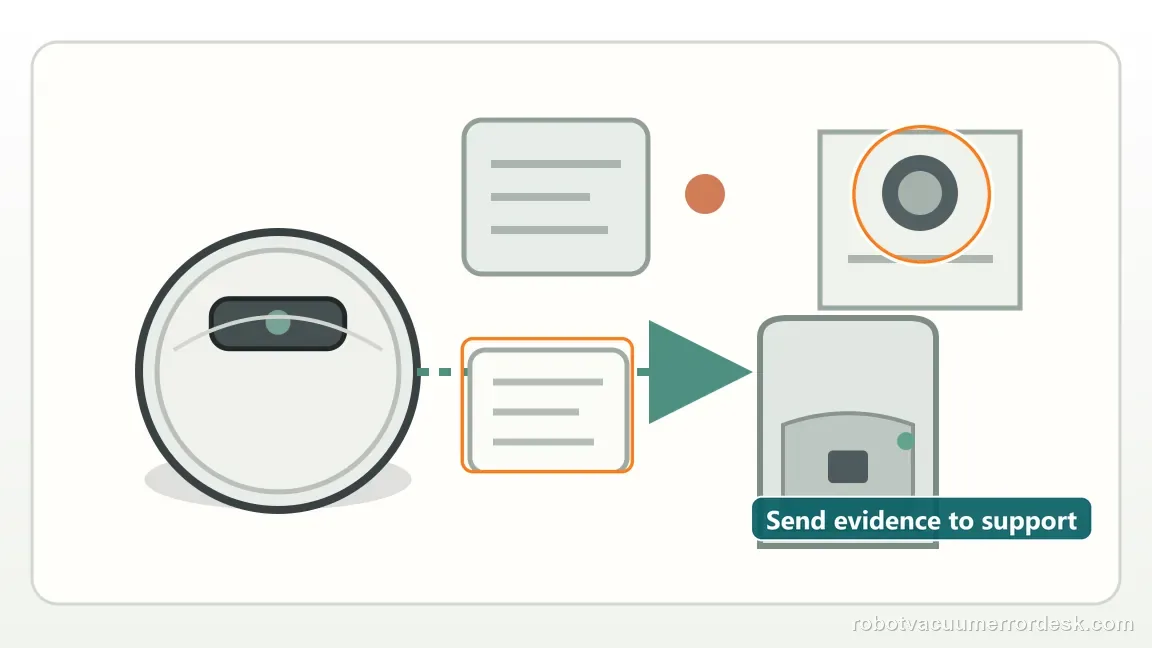
What to collect before contacting support
Give support a reproducible case instead of “it doesn’t work.” That reduces repeated basic troubleshooting and preserves the clues from your tests.
- Exact model name and the error code / voice prompt exactly as shown
- A photo or screenshot of the app error and the time it occurred
- A short list of the checks already completed and what happened after each one
- Firmware/app version if the issue began after a software change
Manufacturer evidence
Roborock Saros 20 Sonic troubleshooting — abnormal noise
Roborock provides a component-by-component noise isolation sequence on the Saros 20 Sonic support page. This review follows Roborock’s component-isolation order so main brush, side brush, front wheel, drive wheels, airflow and mop hardware are tested separately rather than cleaned all at once.
Additional official source: Roborock Support Center — Help & Manuals ↗Last editorial review: September 5, 2026Regional note: manufacturer help centers, model suffixes, mains-power requirements and warranty procedures can differ by country. If the source redirects to a local support site, confirm that the model/hardware scope still matches before following a region-sensitive step.
This guide is rated Official model support. See what each evidence label means →
FAQ
Why remove one part at a time?
Because each brief removal is an isolation test. If the sound disappears only when the main brush and cover are out, that assembly becomes the lead suspect; if it changes only after the side brush is removed, the branch changes. Removing several components together may quiet the robot, but it also destroys the evidence needed to identify which part actually caused the noise.
Should I run the robot for a full cleaning with parts removed?
No. Roborock describes brief tests to isolate the source of abnormal noise, not normal operation with required cleaning parts removed. Run only long enough to hear whether the sound changes, then stop and reinstall the component correctly. A final short confirmation with the normal assembly restored is safer and more informative than completing a full cleaning in a stripped-down state.
What if the noise stays the same through every removable-part test?
If the sound is unchanged after the main brush/cover, side brush, front wheel, drive-wheel checks, filter/suction comparison and mop-system isolation, the common user-serviceable causes are becoming less likely. Save a baseline recording plus the list of tests that made no difference. That is better support evidence than opening the drive, fan or internal chassis to keep searching.
How do I find what is making my Saros 20 Sonic unusually loud?
Roborock recommends a short isolation test after each removable component. Start without the main brush and brush cover, then test without the side brush and front wheel, check the drive wheels, clean the dustbin/filter or use the lowest suction, and finally test without the mop mount or in Vacuum Only. The step that makes the noise disappear identifies the branch.
What counts as abnormal noise on a Roborock Saros 20 Sonic?
The model support page says normal sound is around 65 dBA and compares it with normal conversation, a washing machine or dishwasher. If the sound is closer to a hair dryer or busy street, Roborock considers it abnormal. Use the component-isolation sequence instead of assuming the motor is bad, and record a short clip if no removable source changes the sound.
Did this diagnostic narrow the fault?
Use this as an editorial signal, not a popularity counter. If a feedback address is configured you can email the note; otherwise you can copy it for your own support record.